Last reviewed: October 15, 2025
Publishing Permissions
Publishing Permissions
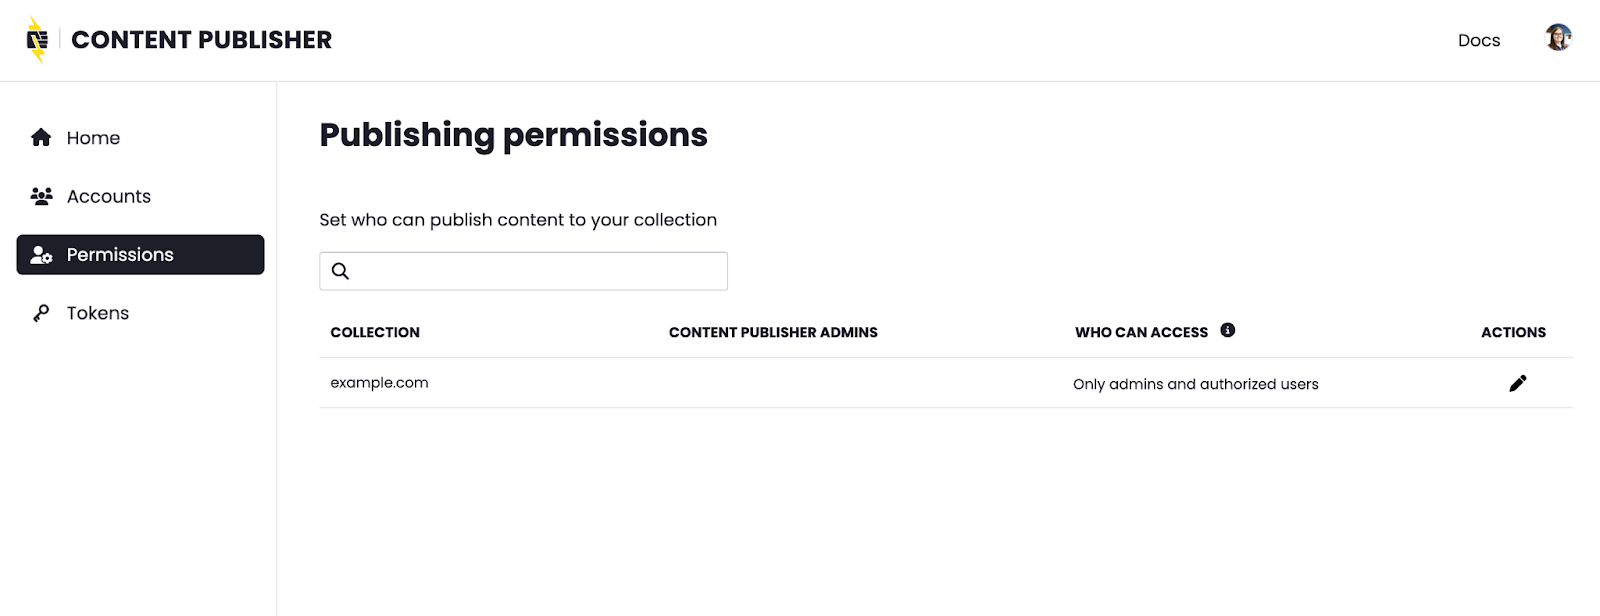
Collection access, or visibility, can be configured as either public or private to members of the connected Google Workspace account.
- Only admins and authorized users (private)
- Anyone in this workspace (public)
The default configuration after collection creation is private with the collection creator granted administrator access.
- Login to the Content Publisher dashboard then go to Permissions, or click here for a direct link.
- Locate the collection you want to edit and click the pencil icon from the Actions column.
Note: Only administrators have permission to edit access for a collection. By default, the creator of the collection is automatically added as an administrator. For more details, see User Roles.
- Click the drop-down menu at the top of the modal and select desired configuration.
- Enter email address and press enter, repeat for all users you want to add as either Administrators or Authorized users, then click Save Changes. Be careful to give administrative permissions to only trusted users.

Note: The Authorized users field is only an option for private collections. |
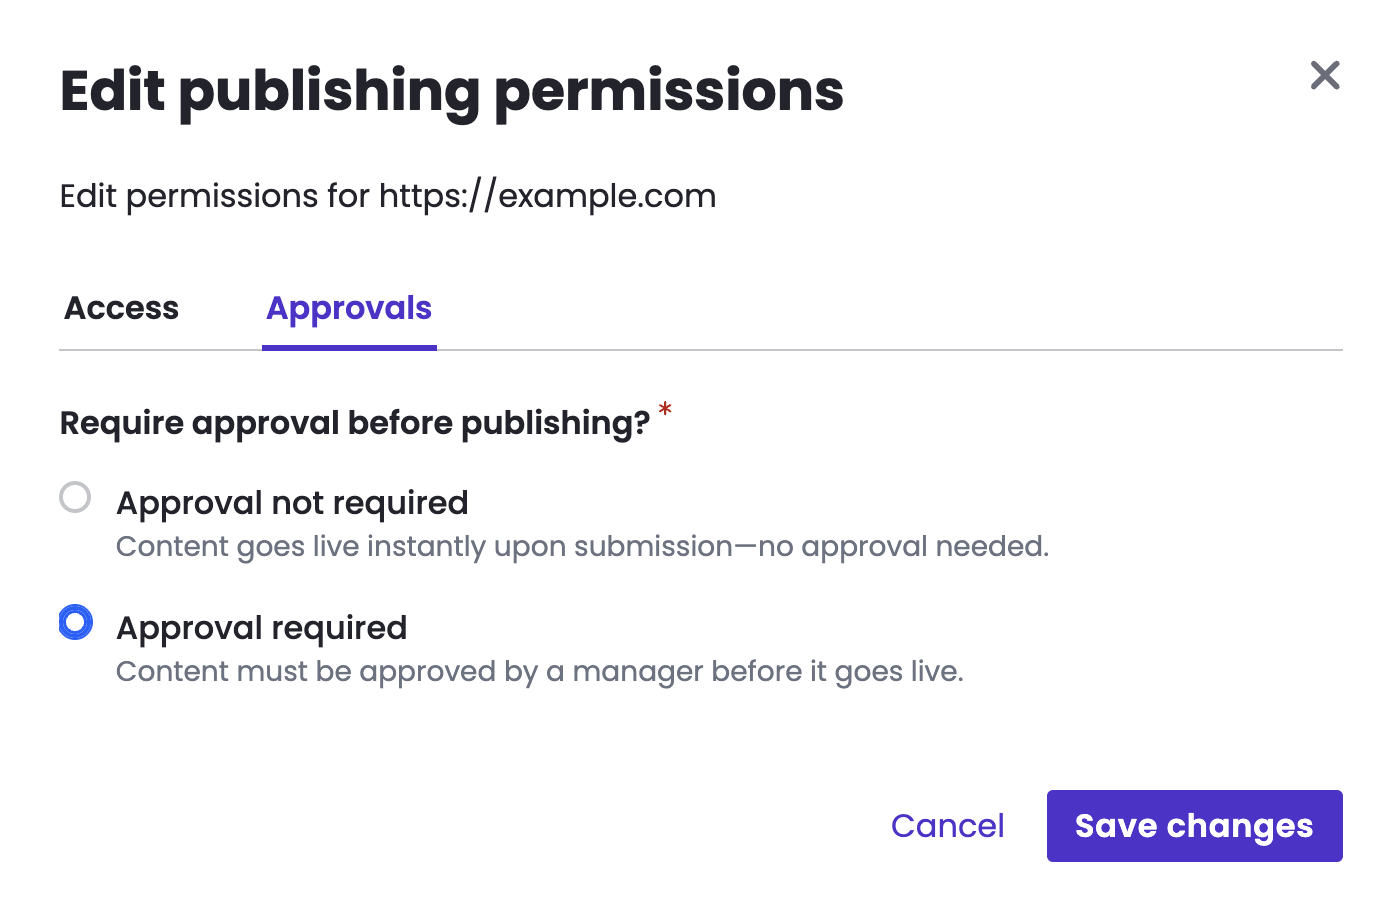
This configuration controls the publishing workflow for content contributors:
- Approval not required
- Approval required
The default configuration after collection creation is Approval not required.
Change the publication experience so that contributors submit content to administrators for review approval rather than freely publishing directly.
- Login to the Content Publisher dashboard then go to Publishing Permissions, or click here for a direct link.
- Locate the collection you want to edit and click the pencil icon from the Actions column.
Note: Only administrators have permission to edit approvals for a collection. By default, the creator of the collection is automatically added as an administrator. For more details, see User Roles. - Switch to the Approvals tab, then select “Approval required” and click Save changes
For more information, see Approval Workflows.