Drupal Getting Started Tutorial
This tutorial is meant to give Drupal developers and architects familiarity with how Content Publisher and a Drupal installation intersect. It presumes knowledge of common Drupal development tasks like adding and enabling modules.
This tutorial will walk you through:
- Checking that Content Publisher is turned on for your Google Workspace
- Creating a new Drupal site on Pantheon1
- Connecting that new Drupal site to Content Publisher by adding and configuring the appropriate modules
- Using the Google Docs addon to publish a new "hello world" page
1 Site can be hosted on Pantheon or on a host of your choice. For demonstration purposes we will spin up a new Drupal site on Pantheon.
Before we get to creating a new Drupal site and connecting it to Content Publisher, let's make sure you have access to Content Publisher.
If you haven't done so yet, follow our quickstart guide which helps you:
- Go to content.pantheon.io and authorize your Google Workspace
- Install the Google Docs Add-on for your Google Account
- Publish a testing Google Doc page to our playground
Don't worry about "collections" for now. After we make our Drupal site, we will then create a collection to use specifically with the Drupal site.
- Go to dashboard.pantheon.io and click Create New Site
- Select Drupal for “What kind of site?”
- Select Drupal 11 as the version.
- Provide a site name, choose a workspace, choose a region, then click Continue.
- Wait until the deployment process is complete, then click Visit your Pantheon Site Dashboard
- Click Site Admin and complete the Drupal installation process, selecting the Umami demonstration profile which includes sample content.
(For more detailed guidance on Site Creation generally, see this documentation)
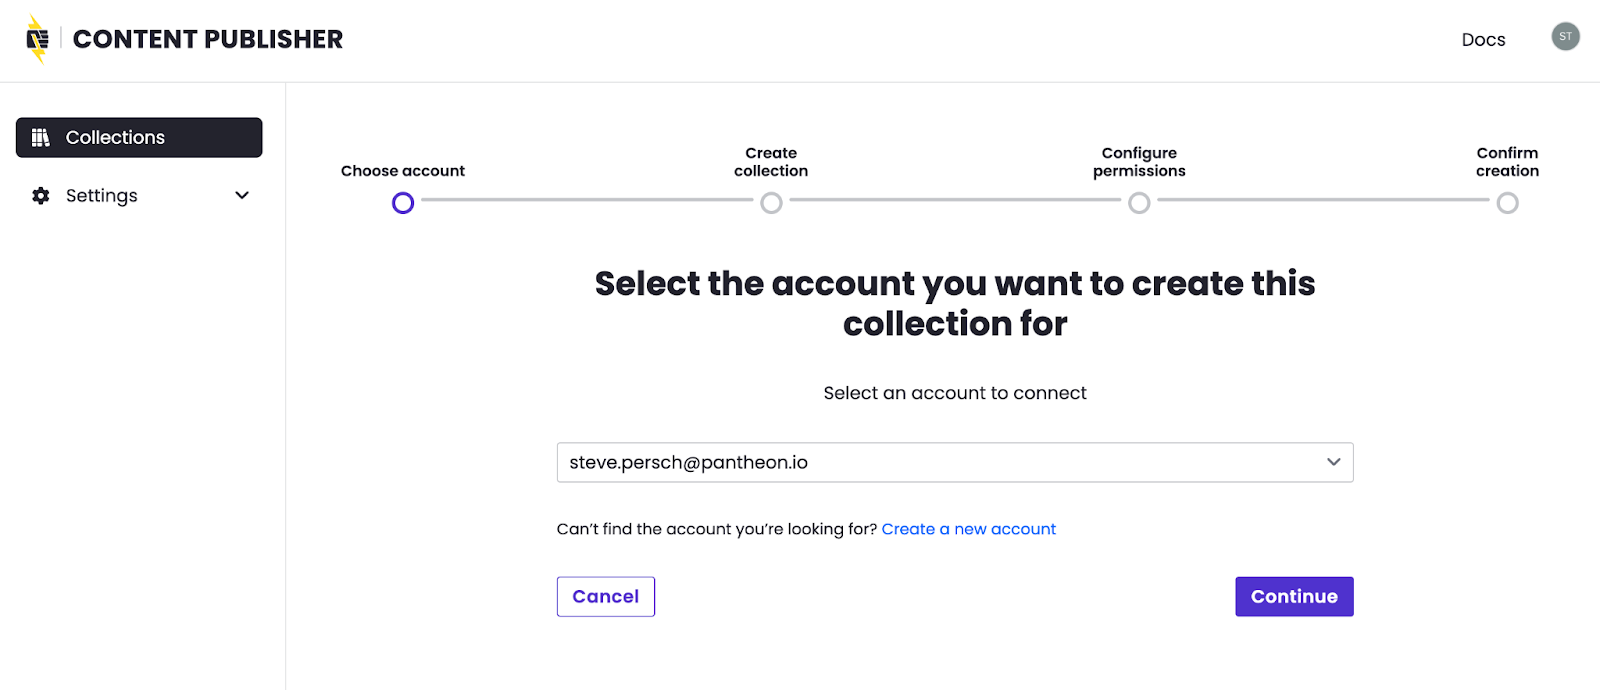
Create a new Collection to hold content from Google Docs. Your soon-to-be created Drupal site will read from this Collection.

Click Continue from the first step (unless you are already so far on your Content Publisher journey that you have multiple Google accounts connected and need to change which account you're using).
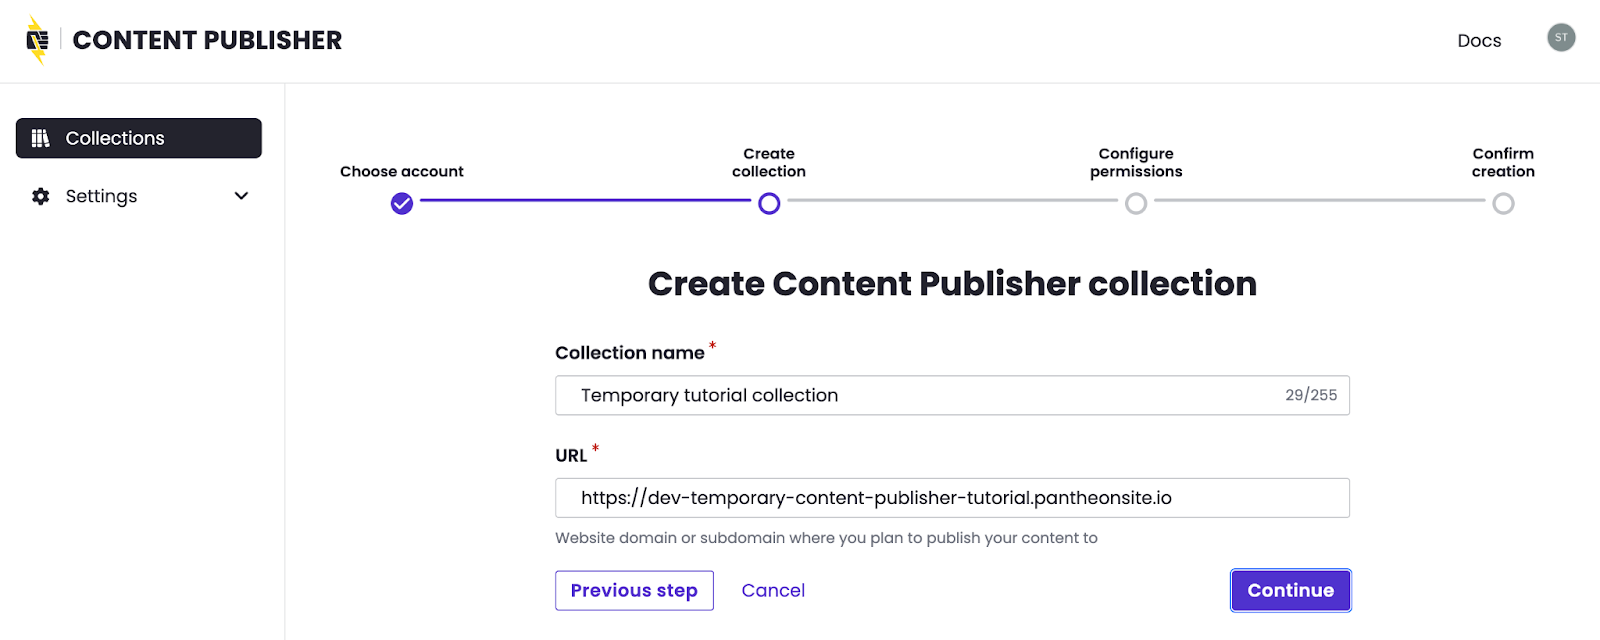
Next associate your collection with the Drupal site made previously. Choose a name for your collection that indicates that it exists to be used temporarily in this tutorial.
Use the URL from the Dev environment of the Drupal site you just made and then press Continue.
Note: Content Publisher and Multiple Drupal Environments For the simplicity of this tutorial we are pairing a Collection of content from Content Publisher and a Drupal site in a Pantheon Dev environment. In real world usage you will almost certainly want Content Publisher associating a Collection with the custom domain name of a Live environment. Content Publisher uses this value to generate links from its interface to the corresponding published material. In real world usage, content editors would want to be linked to a live website. For this tutorial meant to build comfort with the moving pieces of Content Publisher we leave out the added complexity of moving code change through multiple Drupal environments. |
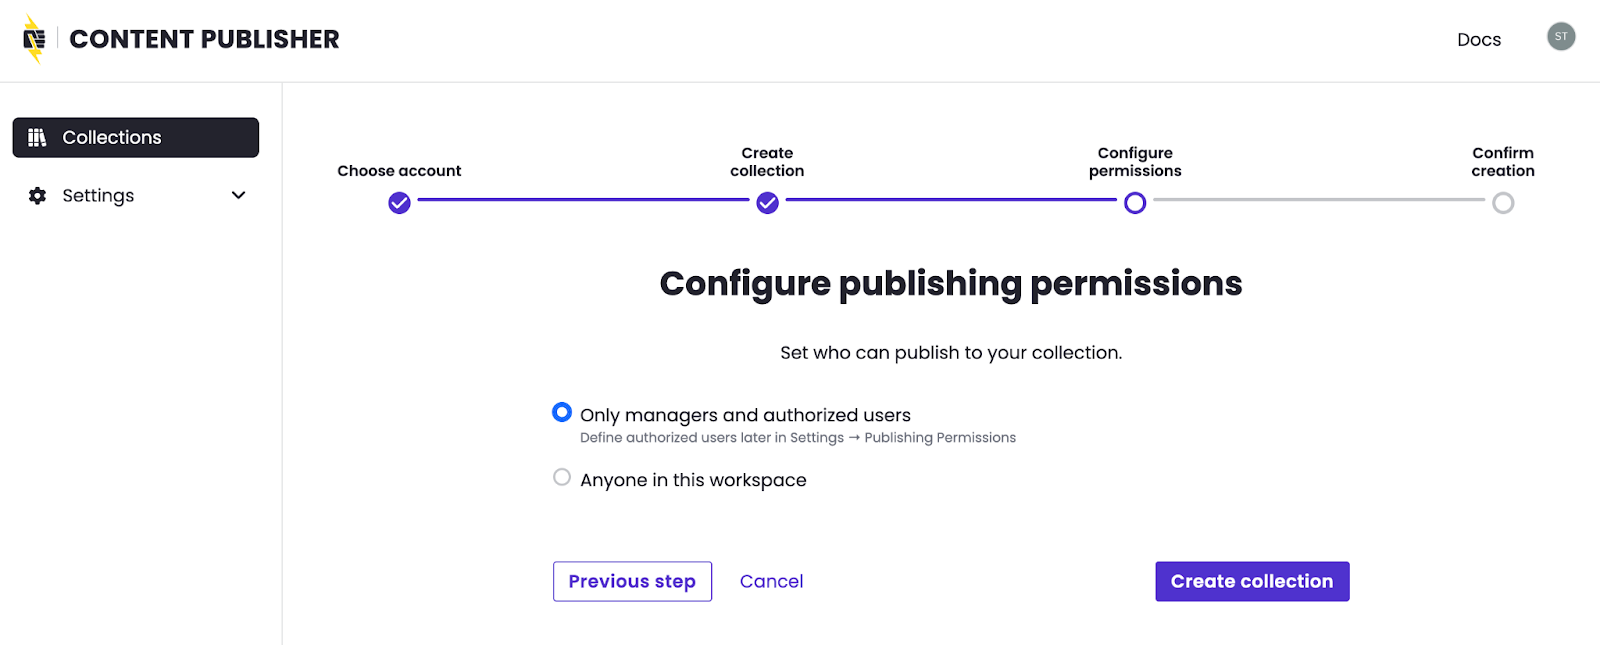
Since this collection is being made only for the benefit of your learning and not to be used for real publishing by anyone in your workspace, select Only managers and authorized users when configuring the publishing permissions. If you want to invite specific coworkers to try out the collection and Drupal site you've made, you can do so after completing the set up.
You now have an empty collection.
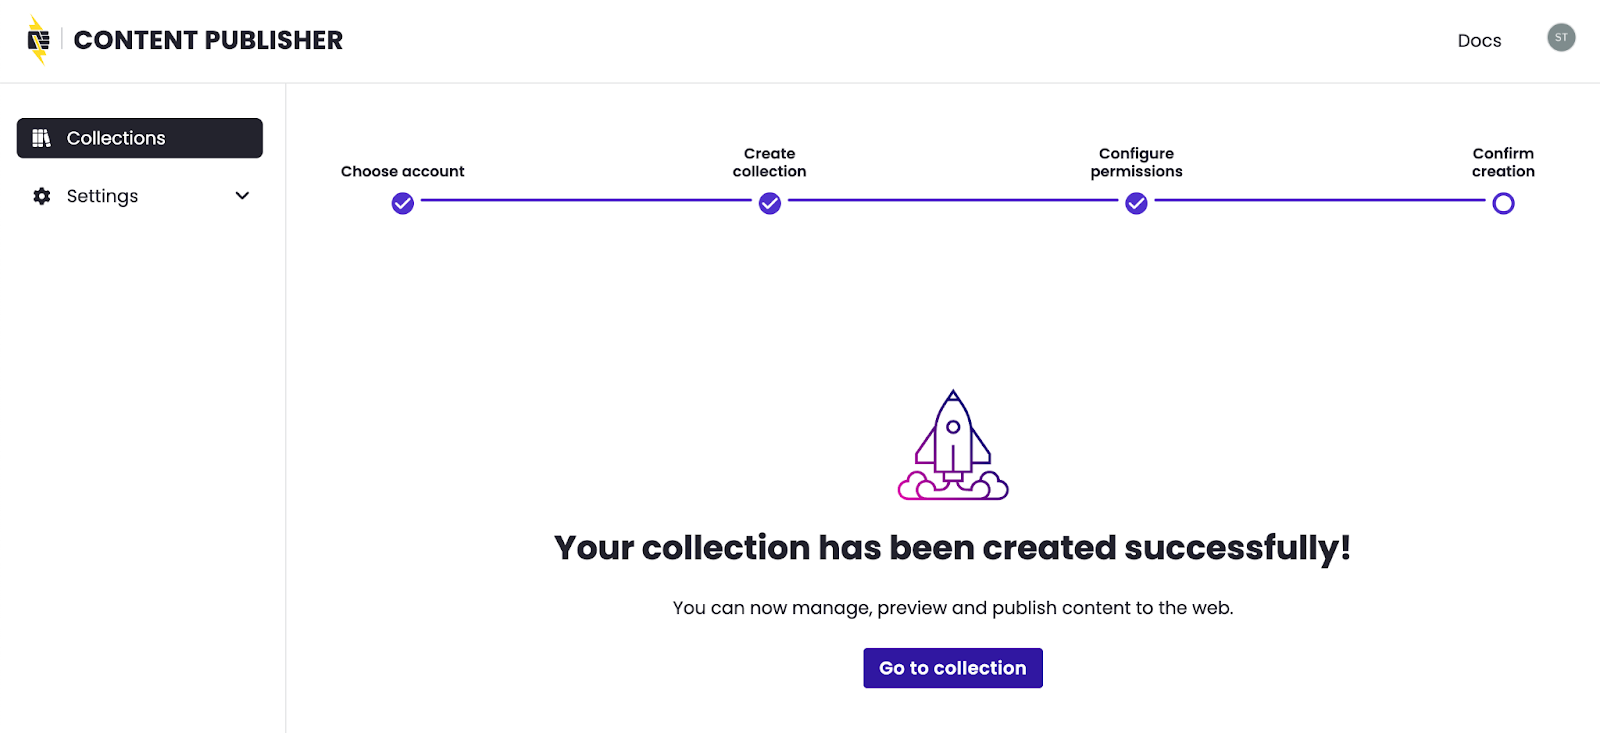
Click Go to collection
Next, setup a webhook in your new collection with your site’s main url followed by the path /api/pantheoncloud/webhook
Navigate to Collection settings > Webhooks and click Add webhook. For example:
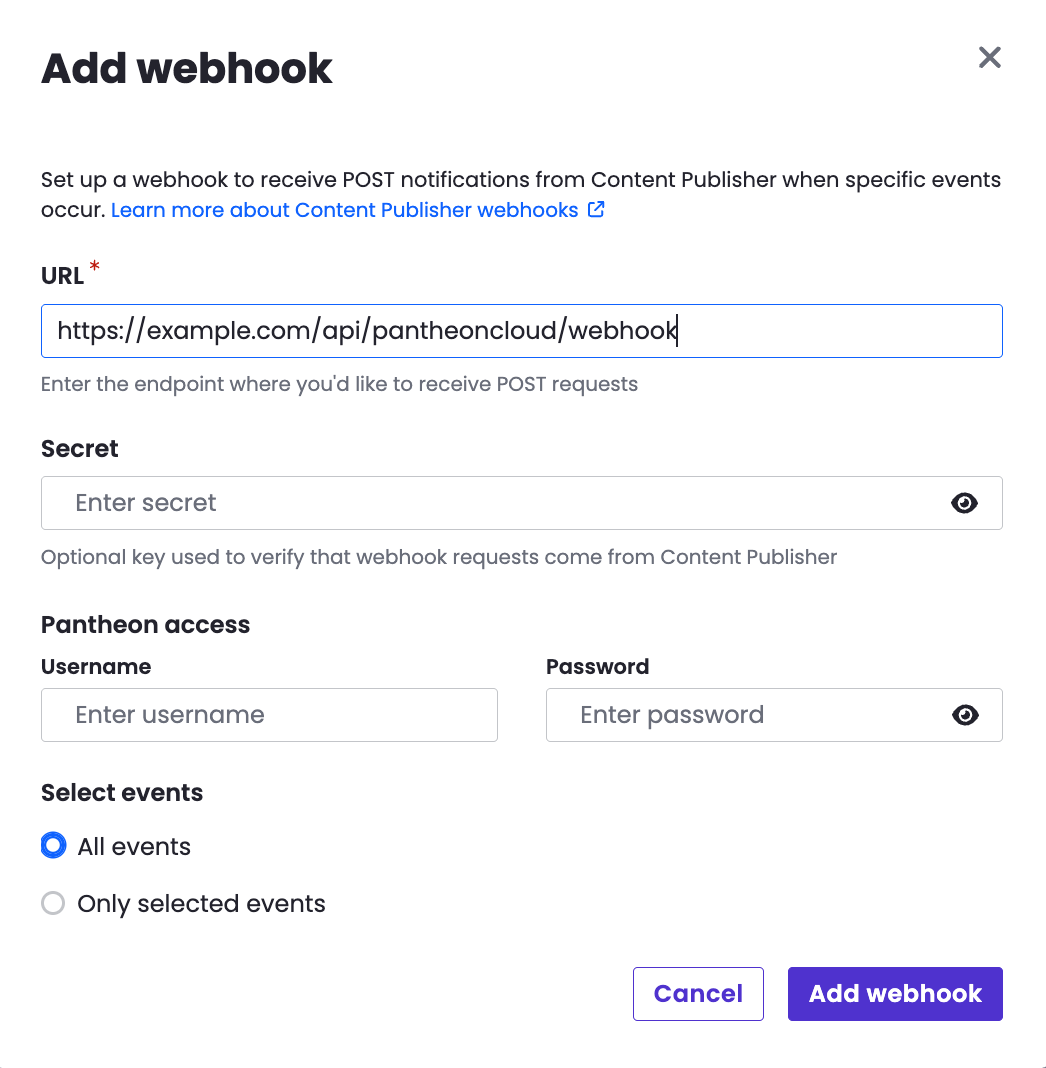
This webhook is used to notify Drupal for any update on a published document.
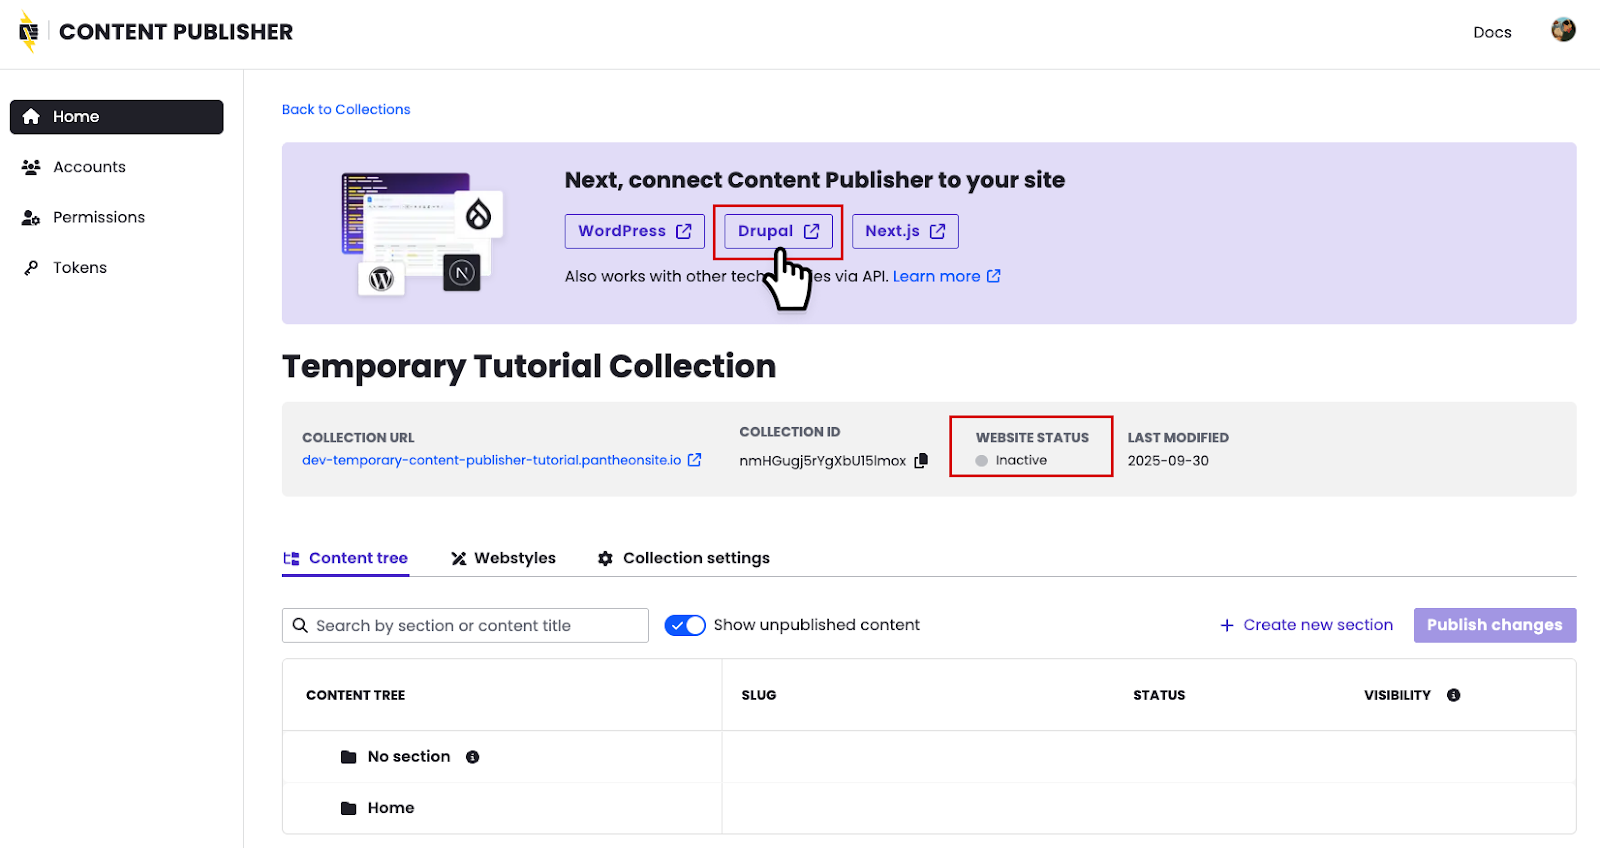
Your collection will appear as "Inactive" until the next steps are completed so Drupal reads content out of the Collection.
To create an Access Token go back to the Content Publisher dashboard and click on Settings and then Tokens. Create an Access Token that is authorized only to read from the Collection you made earlier.
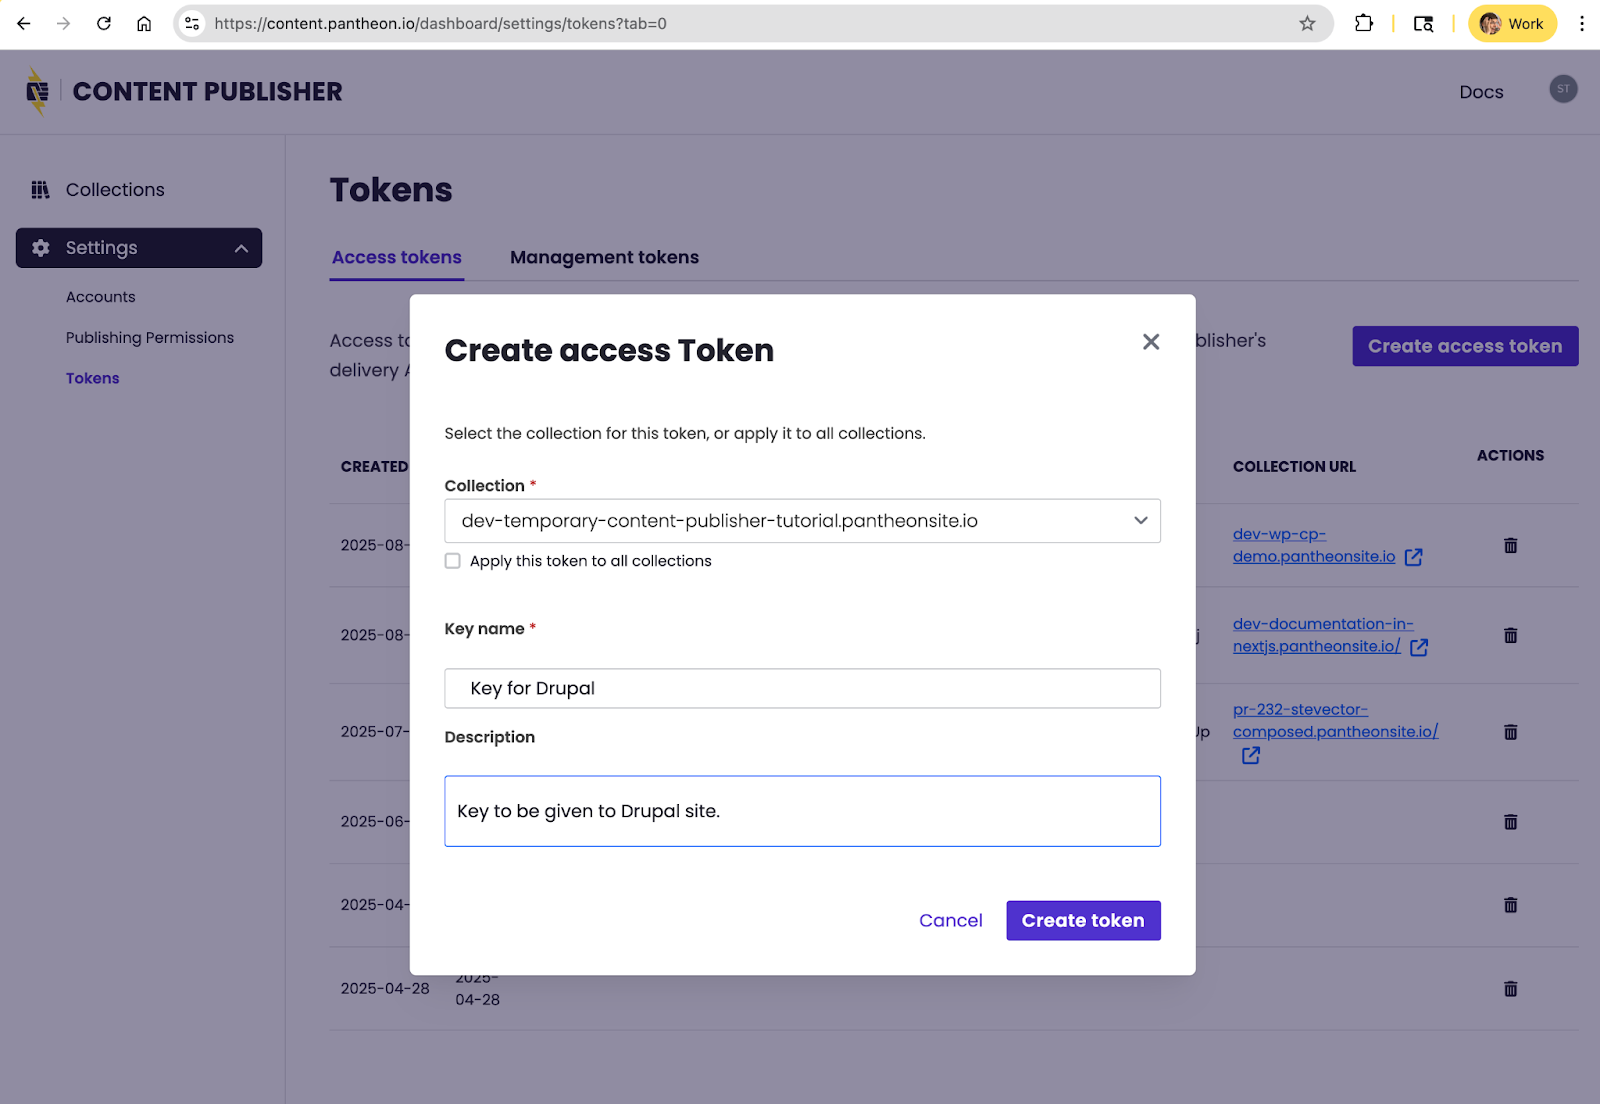
Save the token value to a local text file for use later when configuring the module in Drupal.
Note: Sensitivity of Content Publisher tokens Pantheon provides a Secrets Manager for securely providing Drupal and WordPress with variables like sensitive authentication tokens. Most real-world usages of the Content Publisher module should use our Secrets Manager. However, this tutorial skips over using Secrets Manager because:
|
To connect your newly created Collection and Drupal Site you will need to
- Within the Pantheon Dashboard:
- Enable Solr for the site
- On your own machine:
- Clone the repo of Drupal code
- Set the Solr version for the site
- Add modules via Composer
- Push code changes back to Pantheon
- Within Drupal:
- Enable the Content Publisher and Search API modules
- Configure Drupal to read from your Content Publisher collection.
In greater detail those steps are :
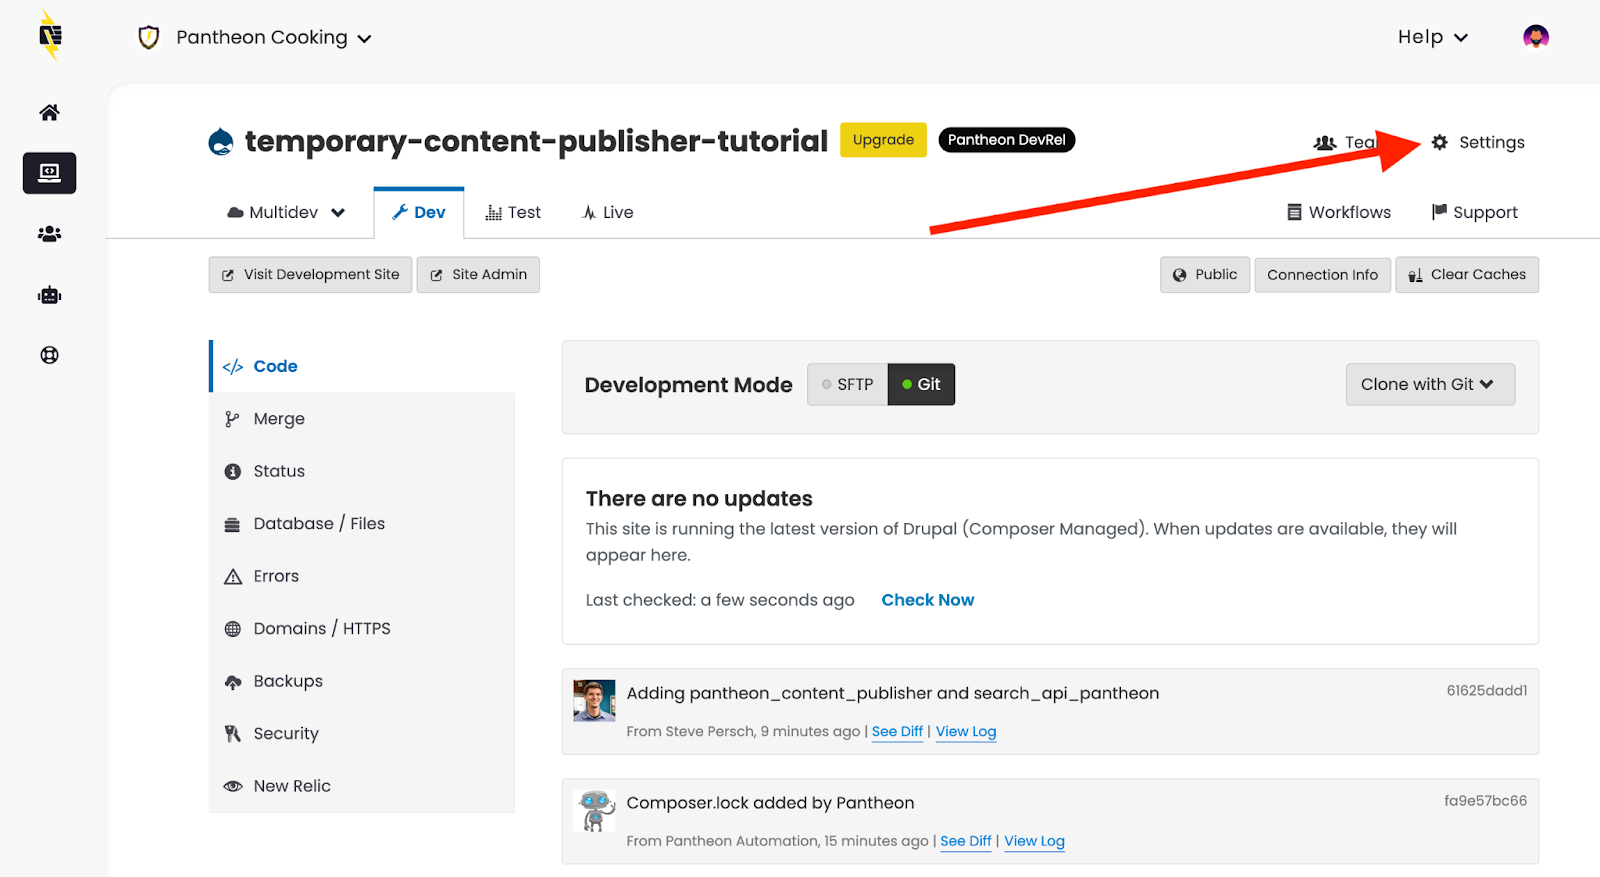
To enable Solr for this site, first click on Settings from your site dashboard.
Then enable Solr by clicking Add.
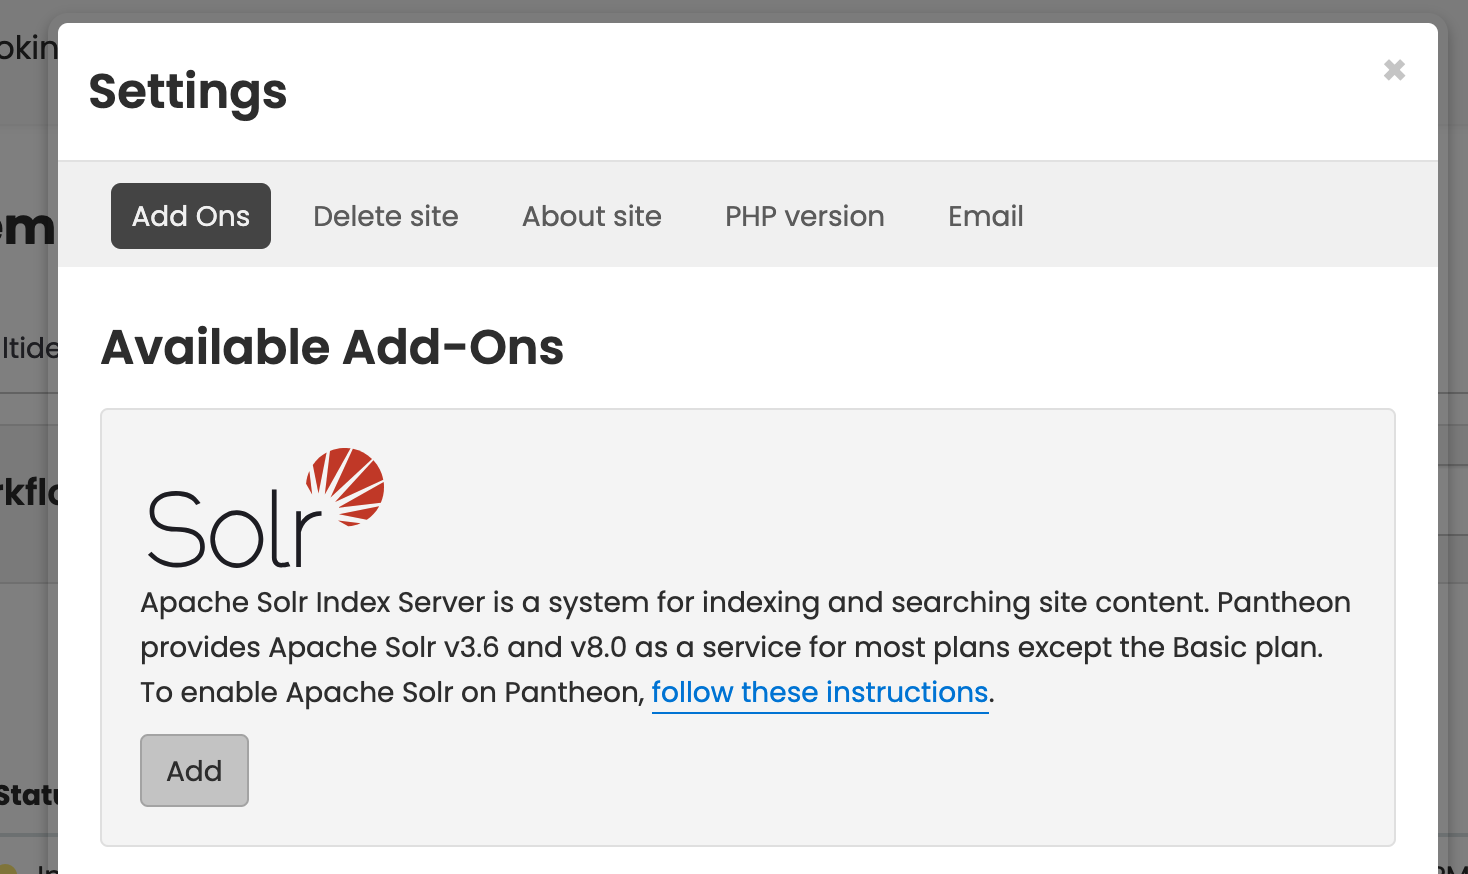
This change will take a few minutes to fully process but in the mean time you can proceed with the next steps.
From the "connection info" tab in your site dashboard copy the command for cloning your site to your local machine. If you haven't done so yet, you will need a functioning SSH Key to clone via Git.
Inside your pantheon.yml file, set the version to 8.
search:
version: 8
With Git, add, commit, and push this change.
git add .
git commit -m 'Setting the Solr version.'
git push
While the Pantheon platform processes this Solr change, you can also proceed with adding modules via Composer.
From the root of your clone repository add the Content Publisher module.
composer require drupal/pantheon_content_publisher:"^1.0"
Although it is not strictly required, we highly recommend also adding Pantheon's Search API module to power the listing and filtering of content.
composer require drupal/search_api_pantheon:^8
Commit these changes and push them back to the Pantheon repository.
git add .
git commit -m 'Adding pantheon_content_publisher and search_api_pantheon'
git push
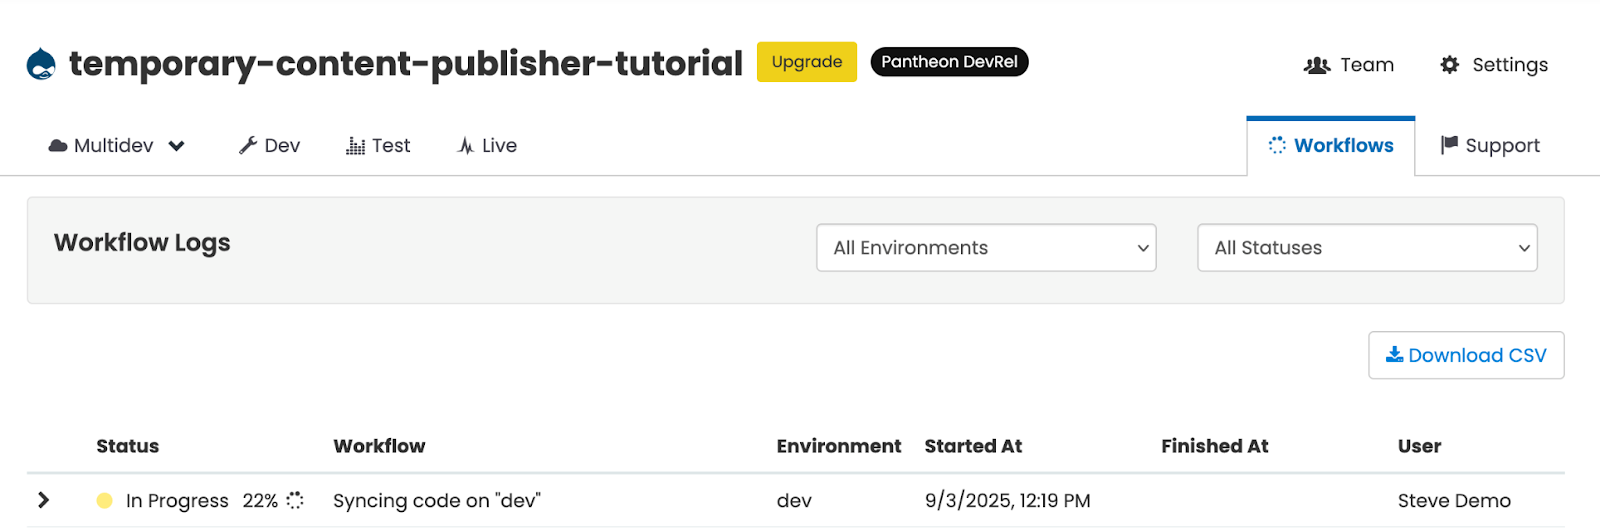
Next, wait for the code change to be synchronized with your Dev environment.
Once the code is synchronized, you can enable the module. While you wait, you can create a token that will allow Drupal to read from Content Publisher.
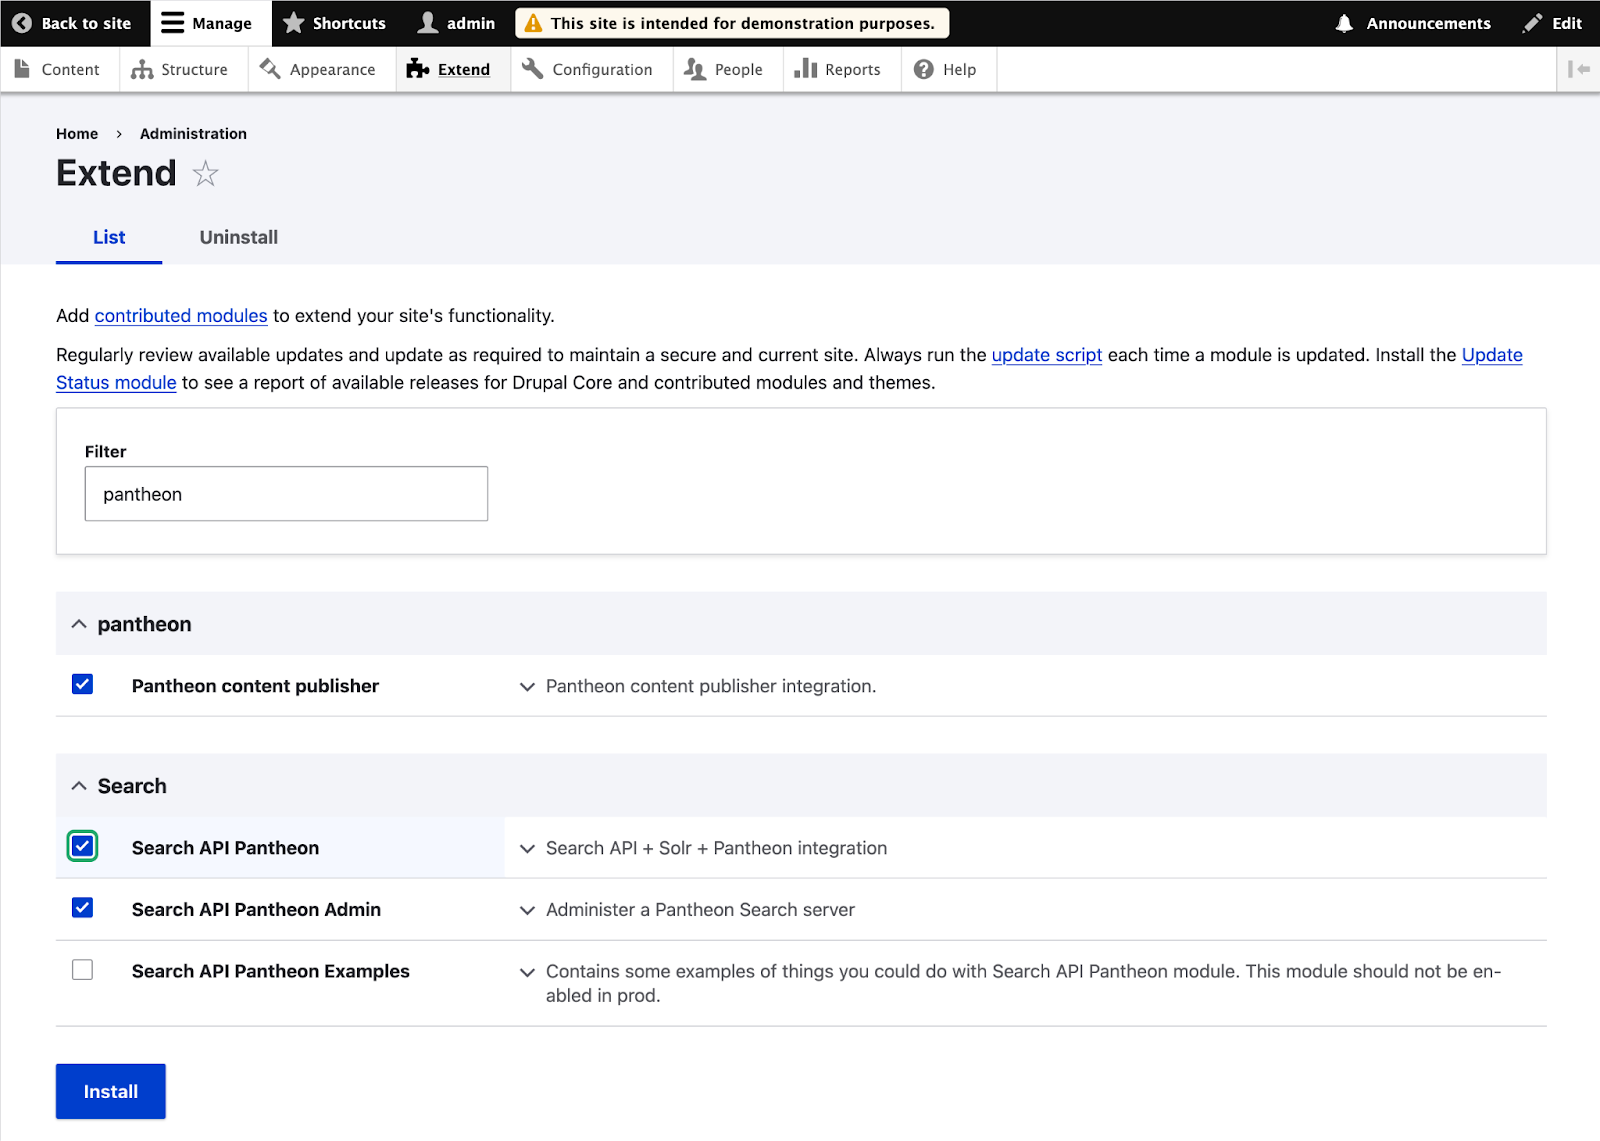
Go to the Extend section of the Drupal administrative interface and check "Pantheon content publisher" and "Search API Pantheon" and then press Install. (You will be prompted to confirm the enabling of additional underlying dependencies modules like Search API.)
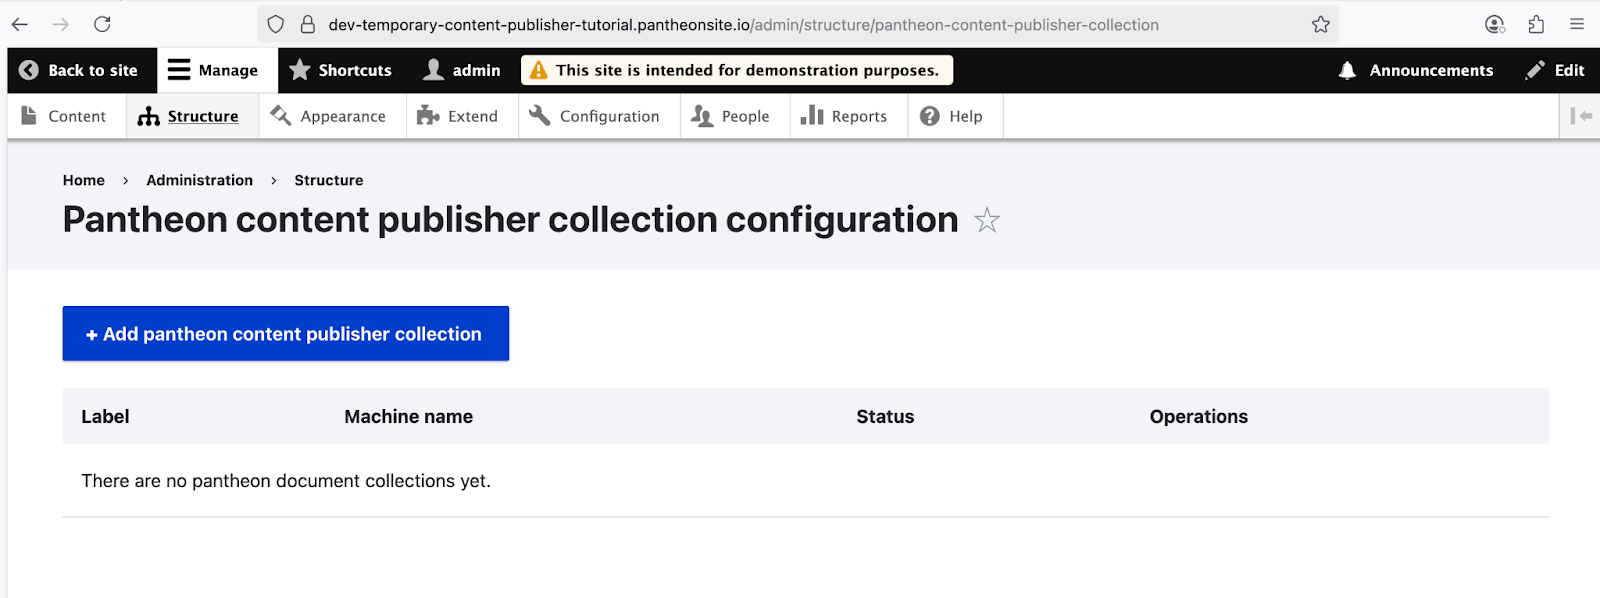
Under the Structure section of the Drupal administrative interface (/admin/structure/pantheon-content-publisher-collection), create a new link to the Content Publisher Collection you created earlier. Click Add pantheon content publisher collection.
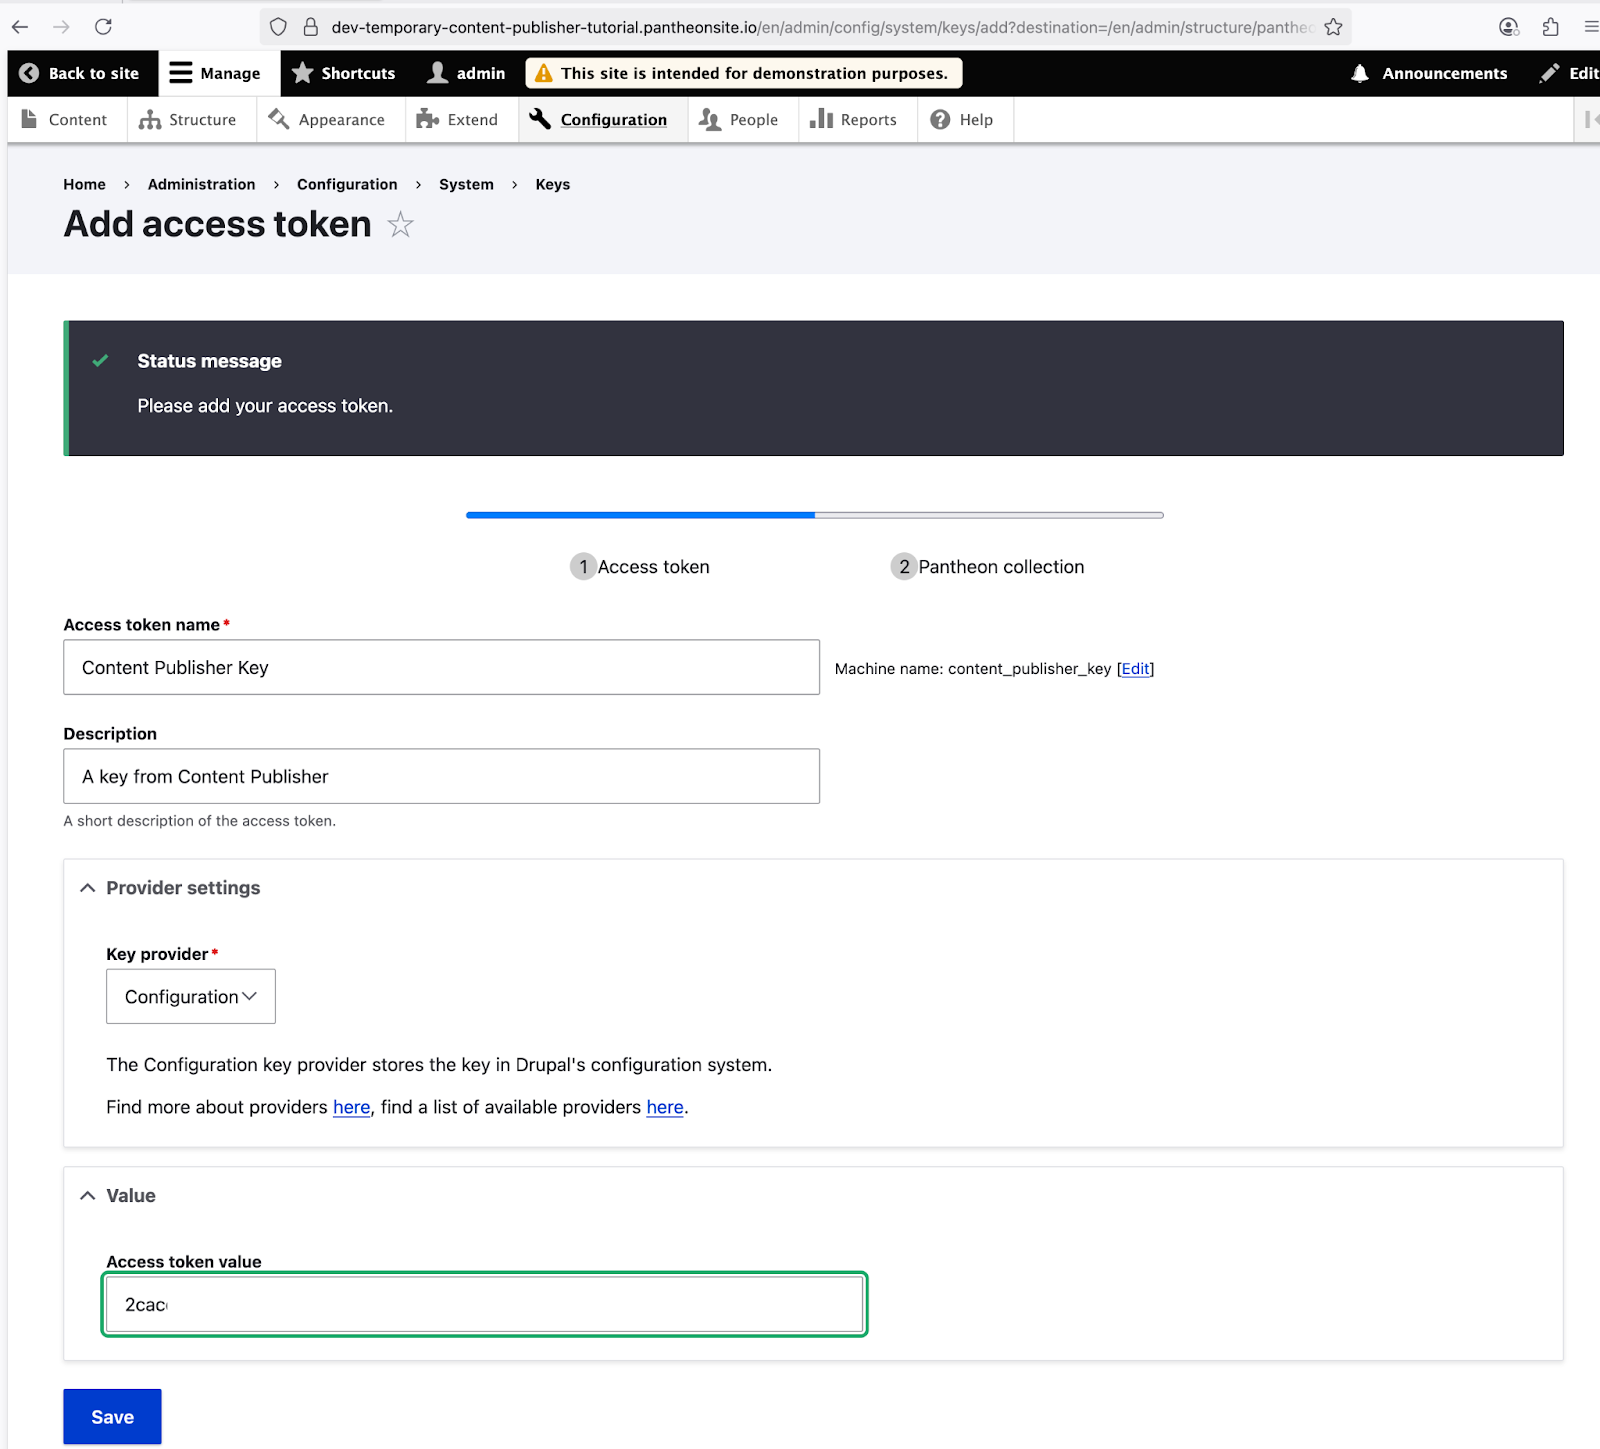
The first step in connecting Drupal to the Collection is giving Drupal a usable access token. Drupal needs a name and description for such a key/token. In the case of this tutorial the name and description you enter do not matter much. If you connect multiple Collections to one Drupal site (or use Drupal's Key module for other purposes) then it is more important to add detail to the description.
For the purposes of this tutorial, it only matters that you correctly copy/paste the Access token made earlier into the Access token value field.
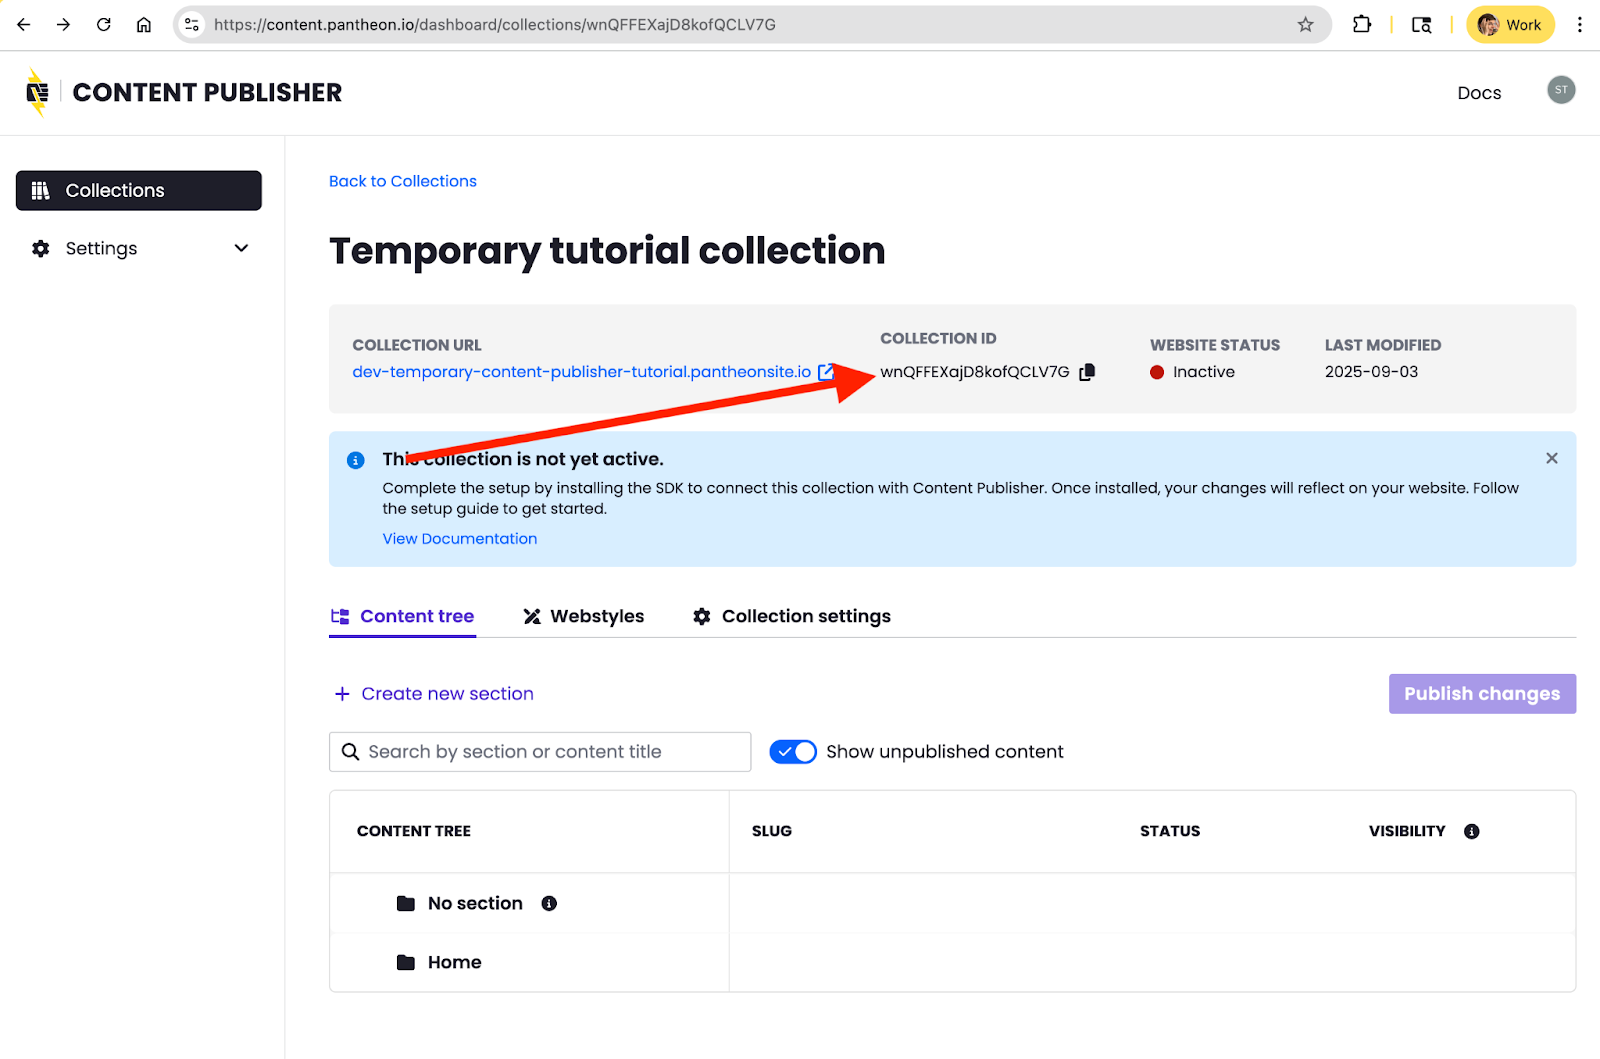
The next screen also contains only one field (Content Publisher collection Identifier (Site ID)) that matters for the functioning of this tutorial.
To find the appropriate value for Content Publisher Collection Identifier, look in the Content Publisher Dashboard.
For the other fields:
- Enter something simple like "Temporary Content Publisher Tutorial" for Label
- Token will be autopopulated based on the prior step.
- Content Publisher URL is autopopulated to read from the appropriate API URL. Do not change it.
- Description is again more important if you are connecting multiple Collections. Here, enter anything like: "A collection to hold 'Hello World' content for learning purposes"
- Search API server is also autopopulated.
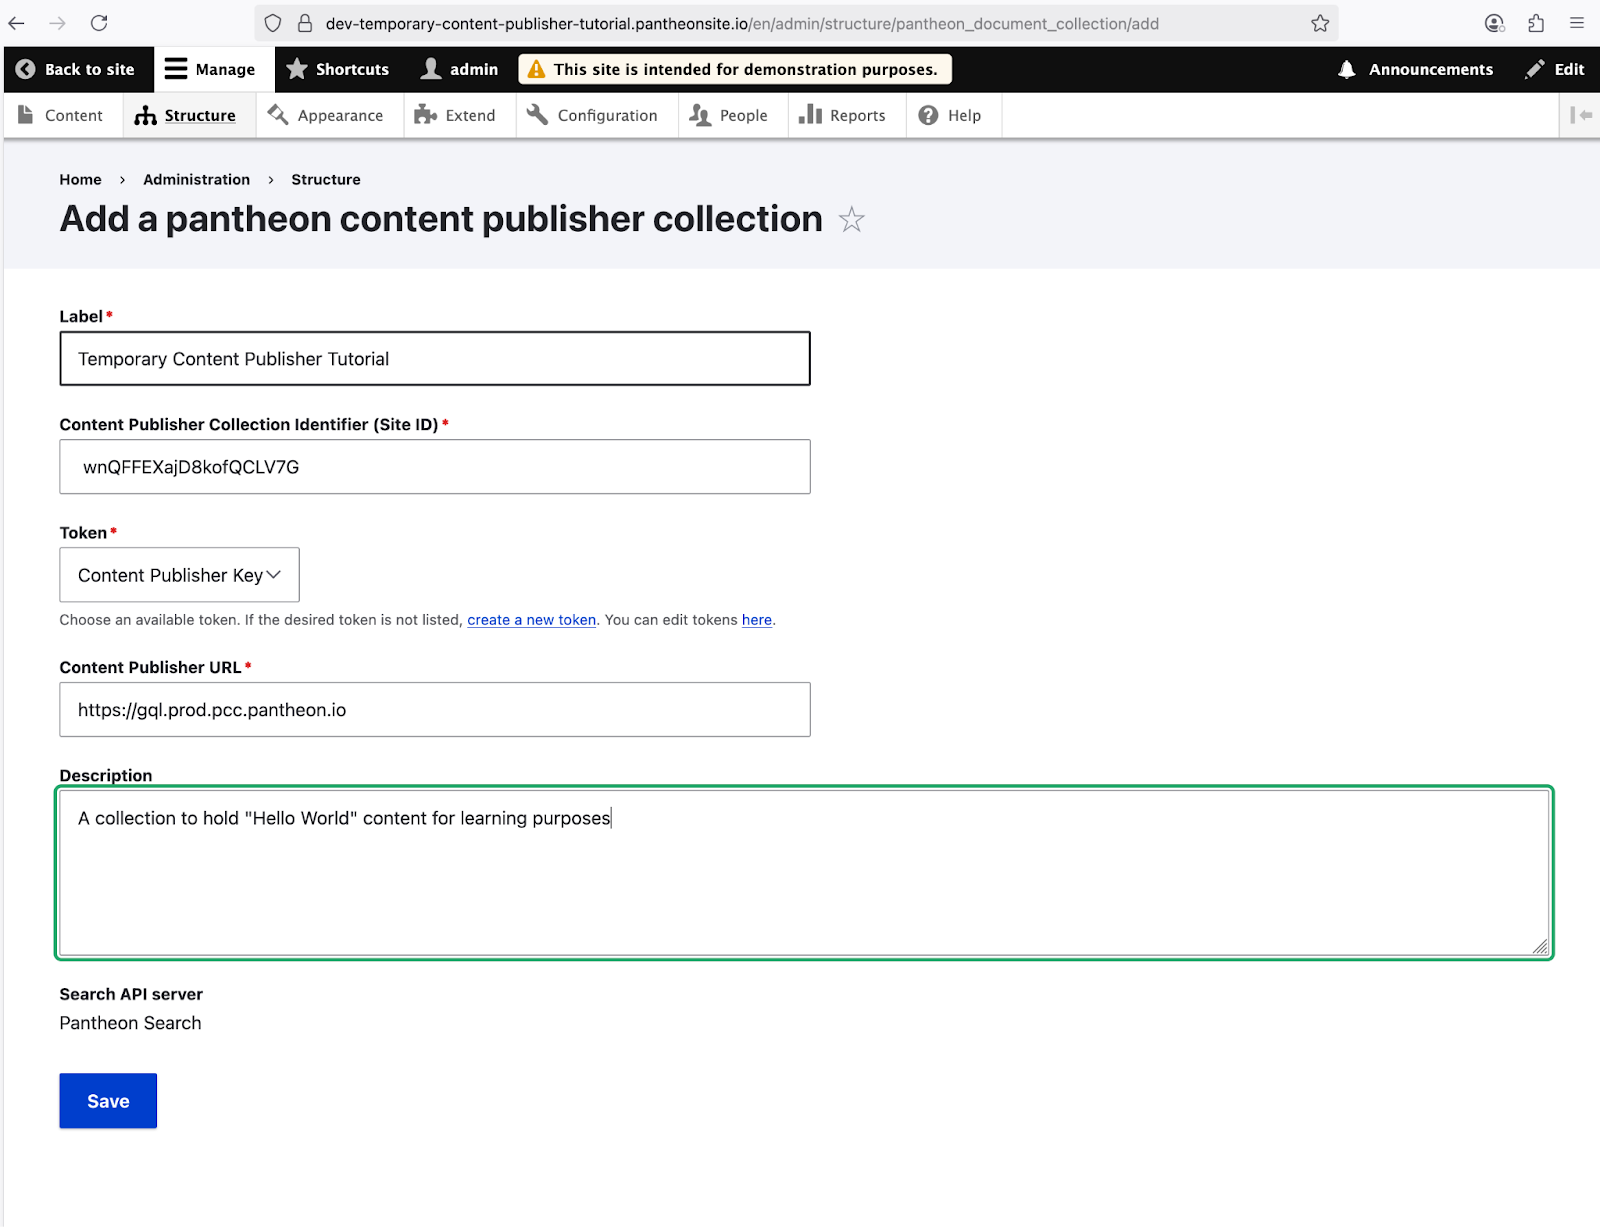
Press Save
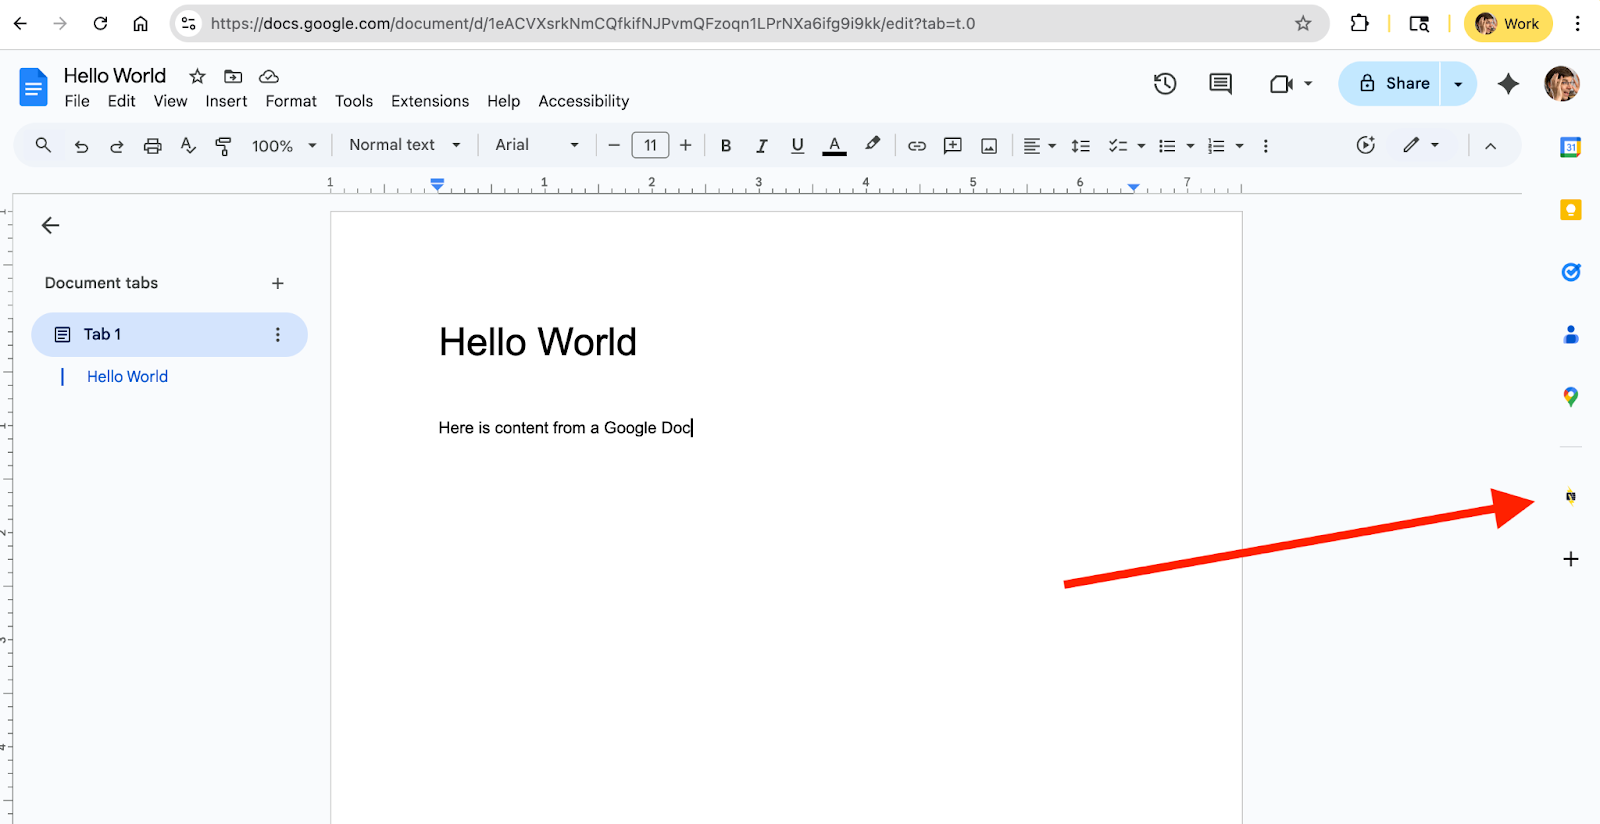
Next, make a new Google Doc and ensure that the add on for Content Publisher is present. If it is not, follow the steps to add it. Once you have filled in whatever "Hello World" content you want to see over in Drupal, click the Pantheon logo and follow the prompts.
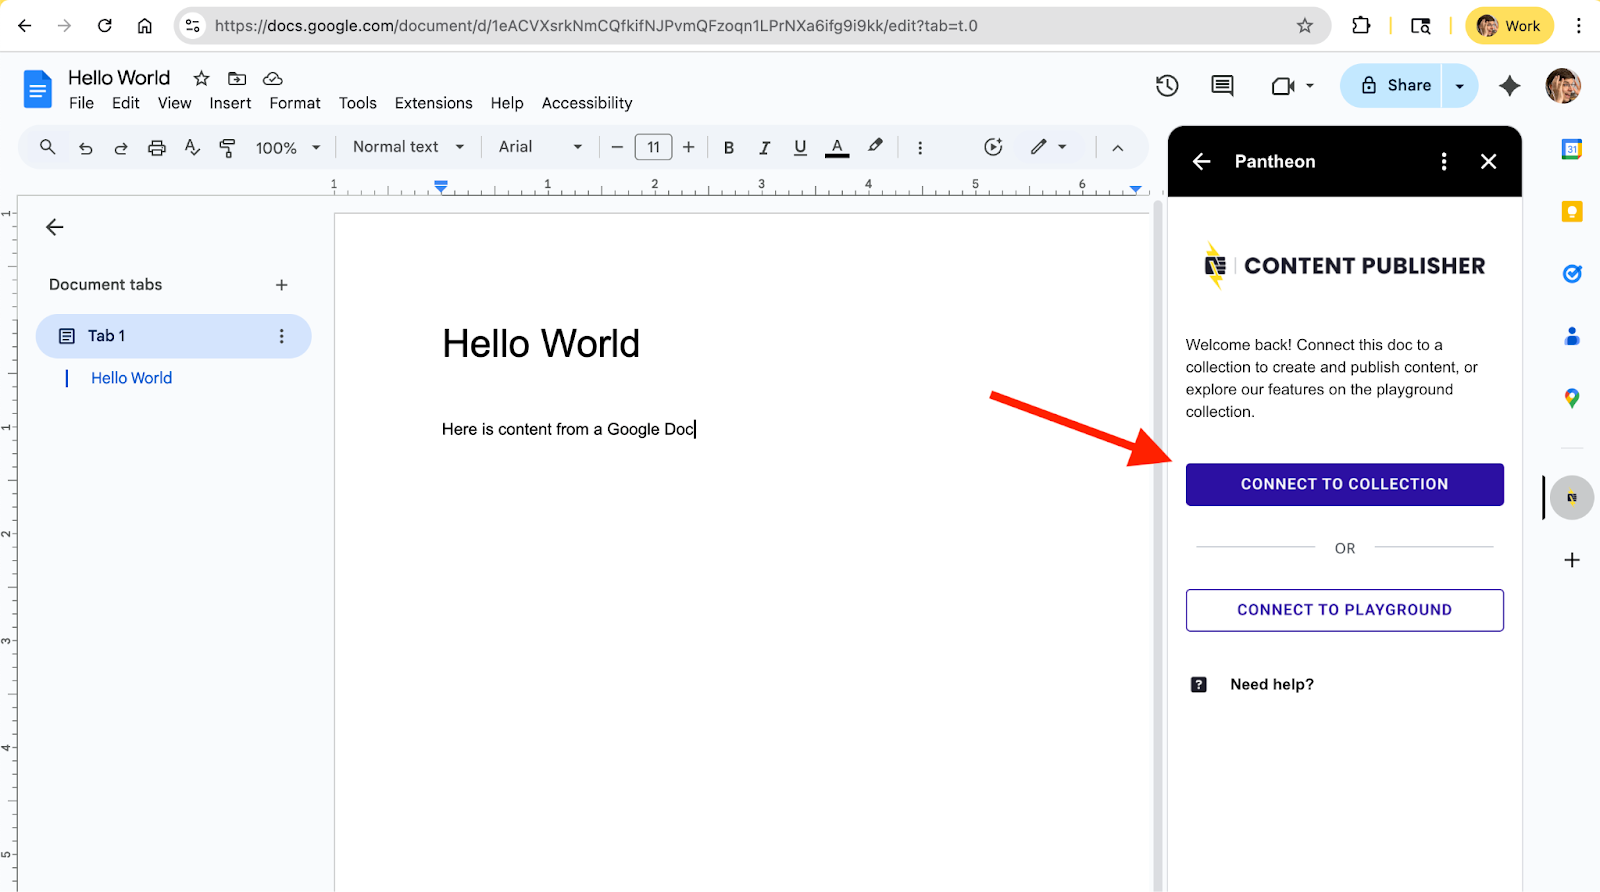
Choose to connect to a Collection.
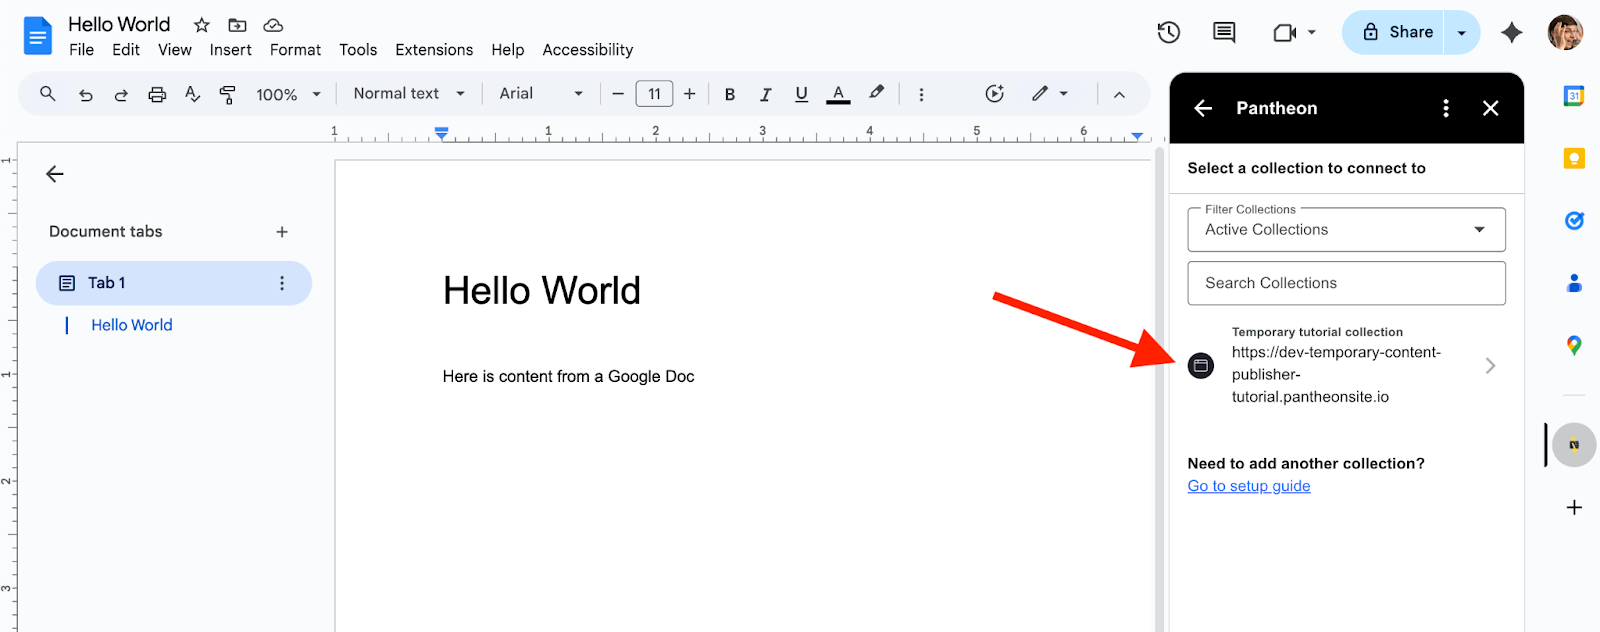
Select the Collection you made earlier:
And hit PUBLISH.
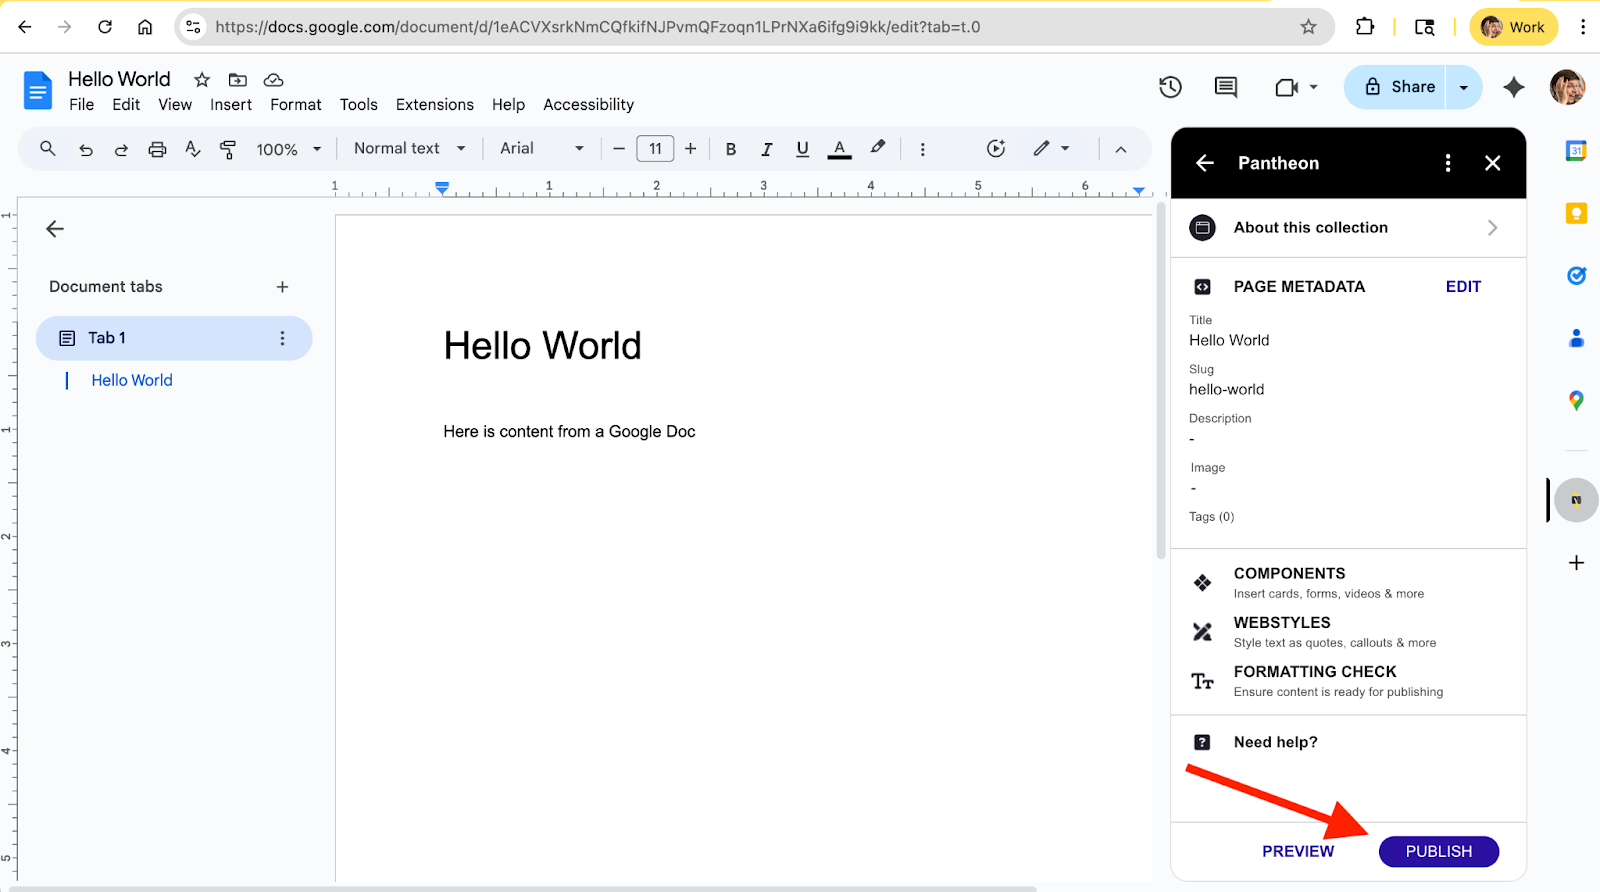
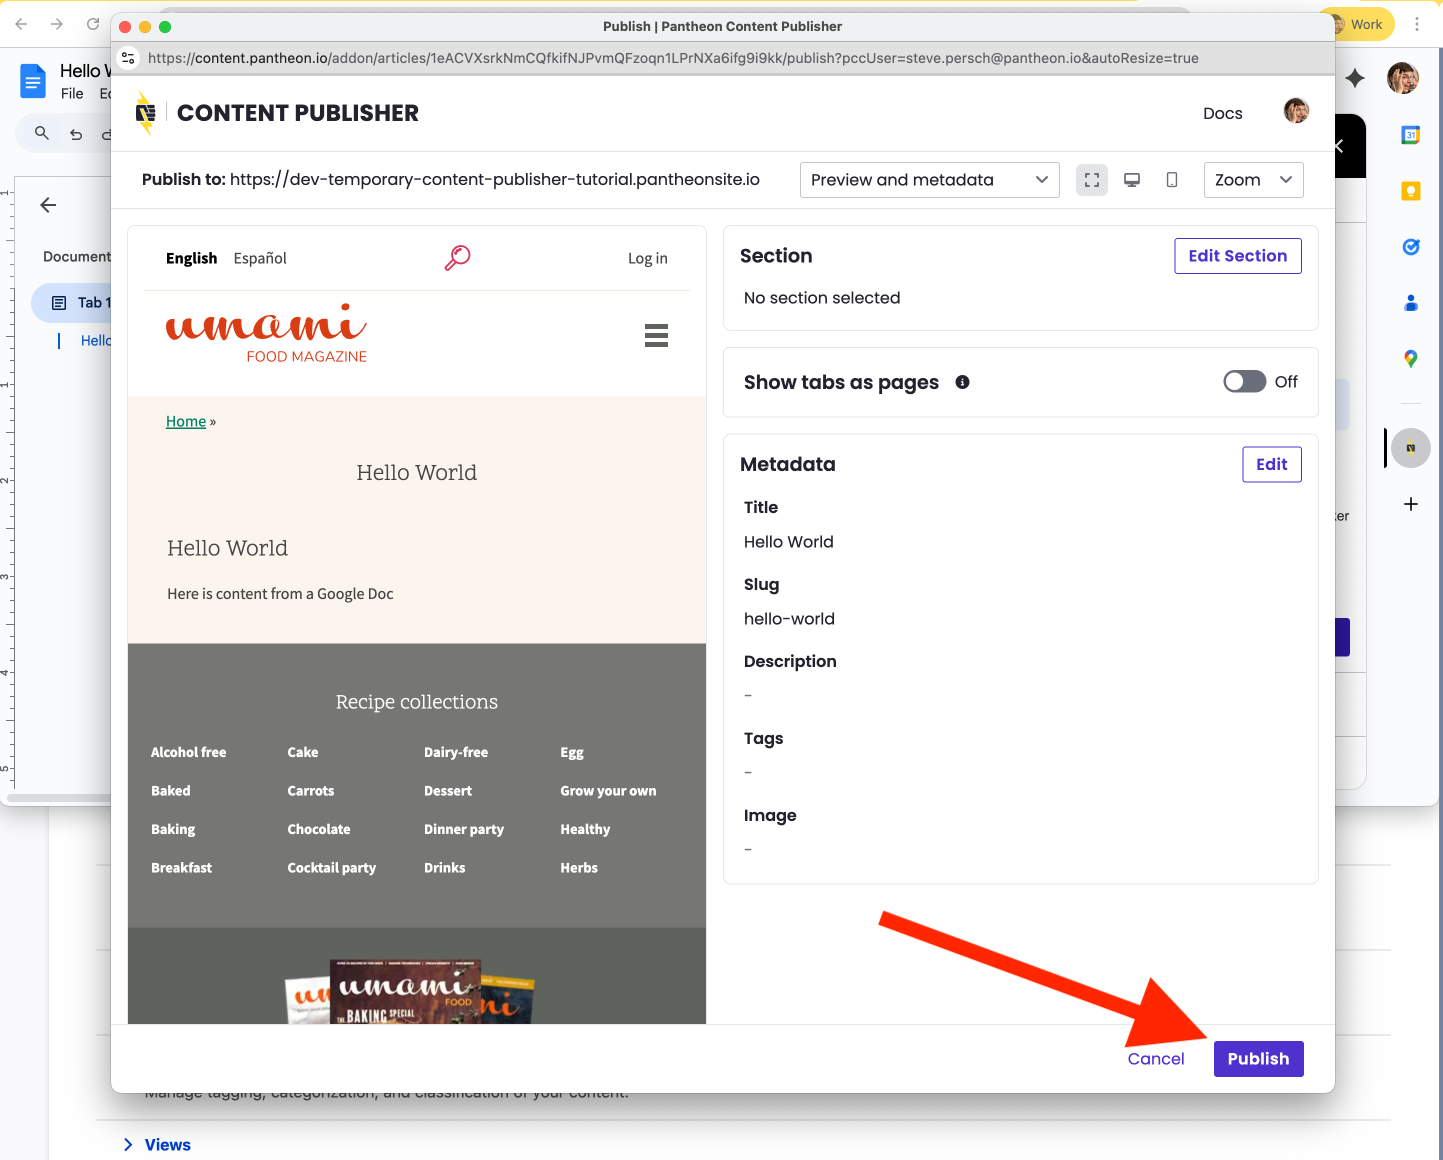
A popup window will prompt you to edit any metadata. For the purposes of this tutorial, you can skip that. Press PUBLISH.
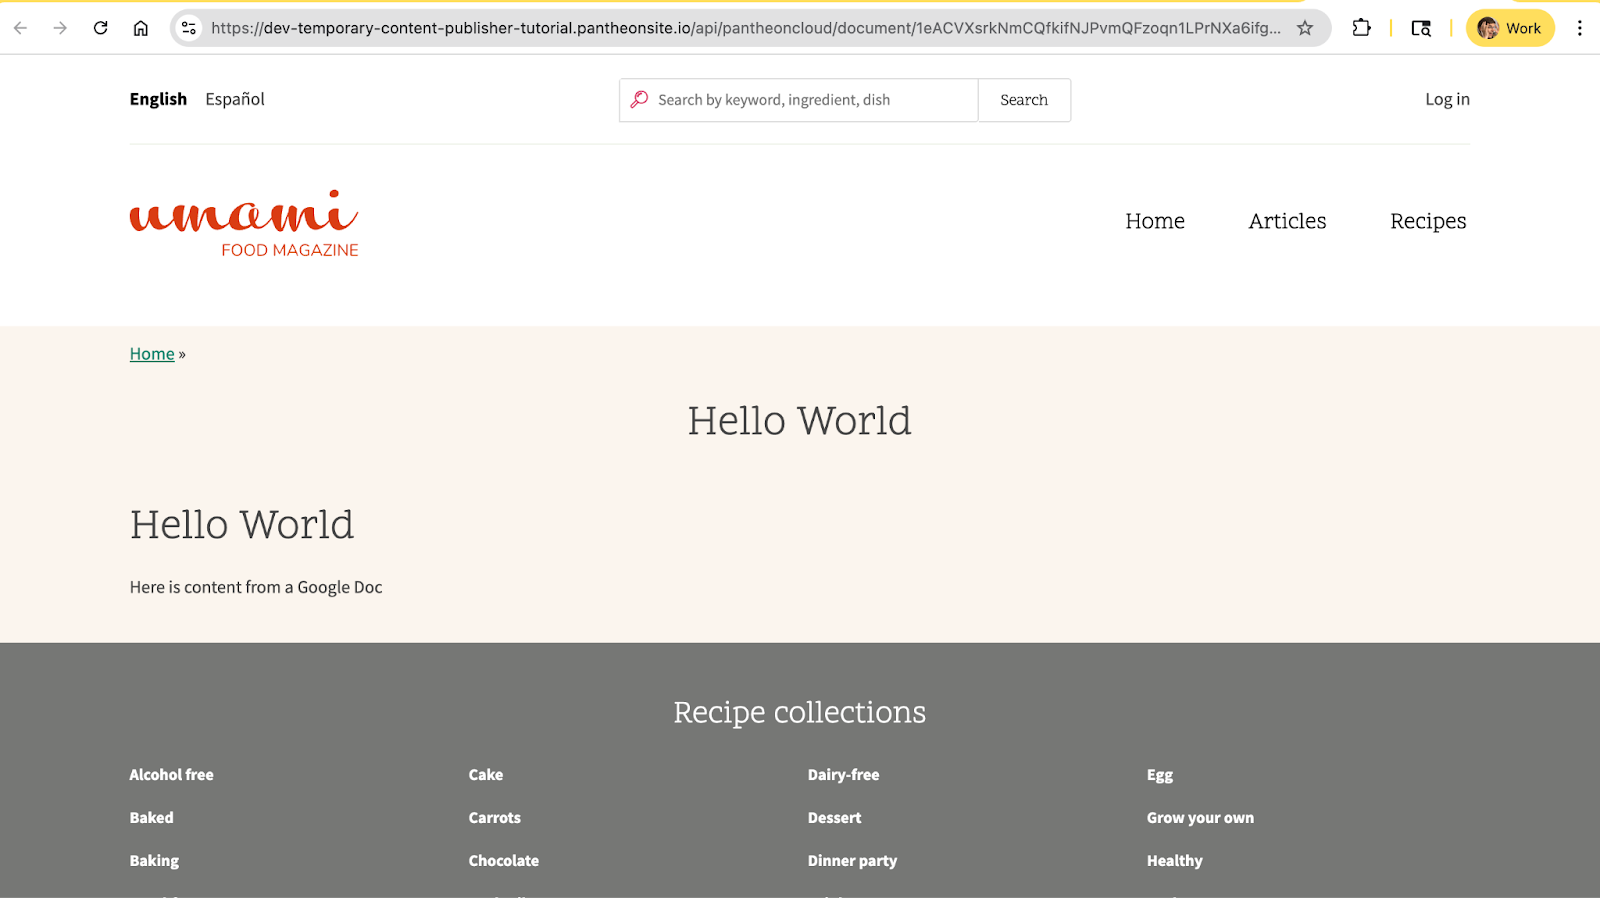
The pop-up window will then provide you a link to the content within Drupal.
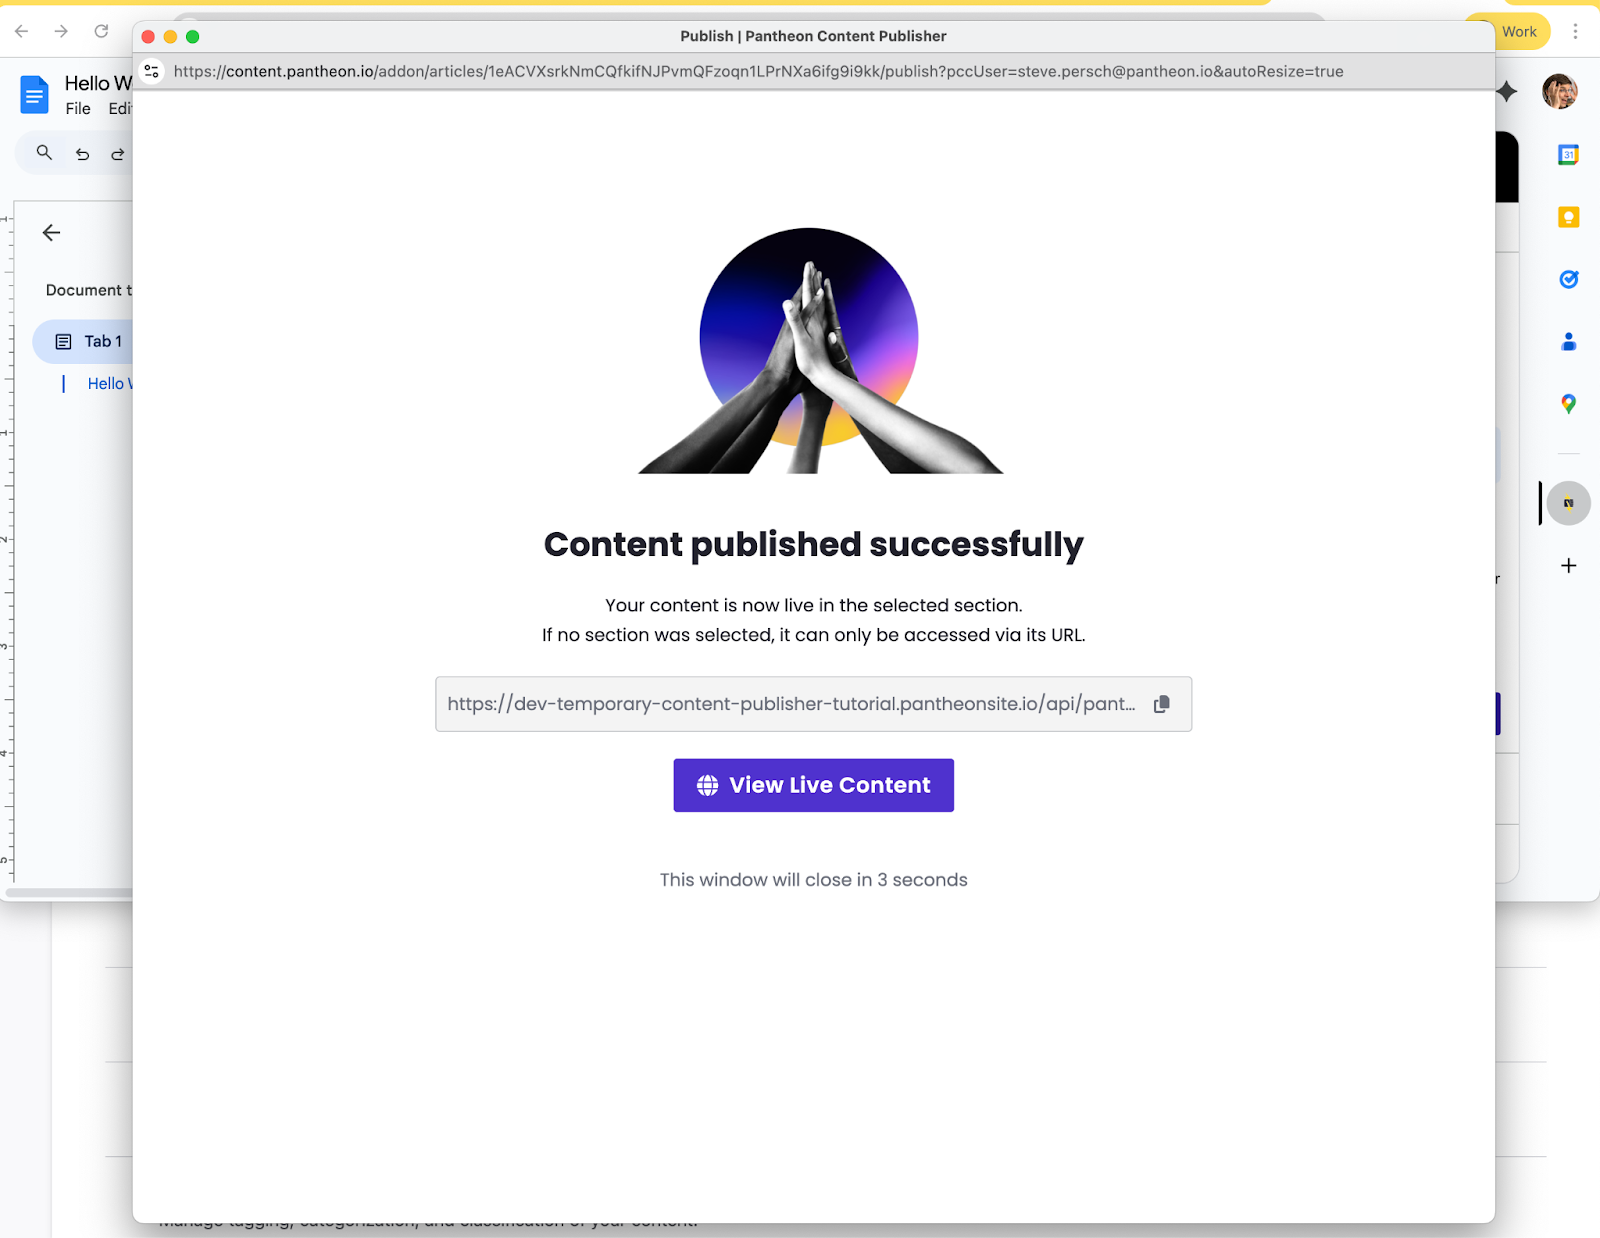
Congratulations you have published content from Google Docs to Drupal: