WordPress Getting Started Tutorial
This tutorial will walk you through:
- Checking that Content Publisher is turned on for your Google Workspace.
- Creating a new WordPress site on Pantheon.1
- Connecting that new WordPress site to Content Publisher.
- Using the Google Docs addon to publish a new post in WordPress.
- Editing that new post and publishing changes from Google Docs.
1 Site can be hosted on Pantheon or on a host of your choice. For demonstration purposes we will spin up a new WordPress site on Pantheon.
- A Google Workspace user account
Before we get to creating a new WordPress site and connecting it to Content Publisher, let's make sure you have access to Content Publisher.
If you haven't done so yet, follow our quickstart tutorial which helps you:
- Go to content.pantheon.io and authorize your Google Workspace.
- Install the Content Publisher Google Docs add-on for your Google Account.
- Publish a test Google Doc page to Pantheon’s playground (optional).
- Go to dashboard.pantheon.io and click Create New Site.
- Under “What kind of site?”, select WordPress.
- Provide a site name, choose a workspace, choose a region, then click Continue.
- Wait until the deployment process is complete, then click Visit your Pantheon Site Dashboard.
- Click Site Admin and complete the WordPress installation process.
For more detailed guidance on site creation, refer to our Getting Started documentation.
- Go to the Site Dashboard on Pantheon and visit the Dev environment. Ensure the Development Mode is set to SFTP.
- Click Site Admin and login to the WordPress Admin Dashboard.
- Go to Plugins and click Add Plugin, then search for “Pantheon Content Publisher” and click Install.
- Activate the Pantheon Content Publisher plugin.
- The plugin allows you to select between connecting an existing collection, or creating a new one. For the purposes of this tutorial, select Create new collection.
- Click Generate management token in Content Publisher, which will open a new tab in your browser for the Content dashboard.
- Click Create management token and enter a token name and description, then click Create token. Copy the token into your clipboard.
- Return to the WordPress Admin Dashboard for the Dev environment, and paste the new management token created in step 3 above and click Connect.
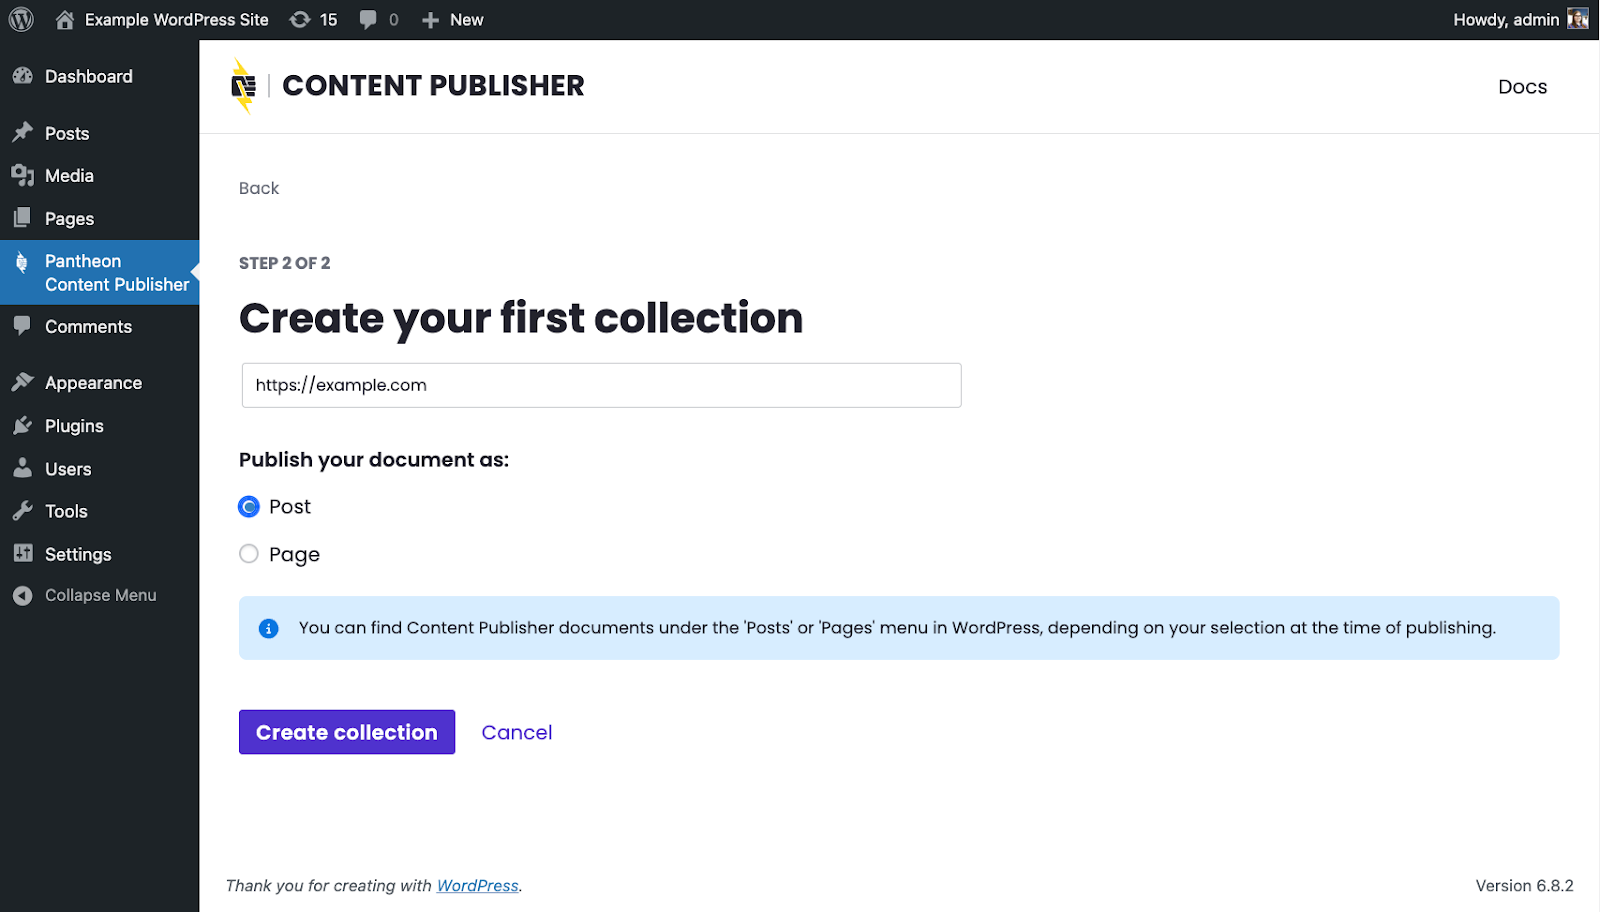
- Select Posts to configure content from Google Docs to be published and structured as posts in WordPress, then click Create collection:
Note: Clicking Create Collection will automatically:
|
- In a new tab, open a blank Google Doc.
- Replace “Untitled document” with a custom name, then add some test content such as a few paragraphs and a few headers.
- By default, the first header found in the Google Doc is used to set post title and slug. We’ll stick with the defaults for now, and update them in the next section.
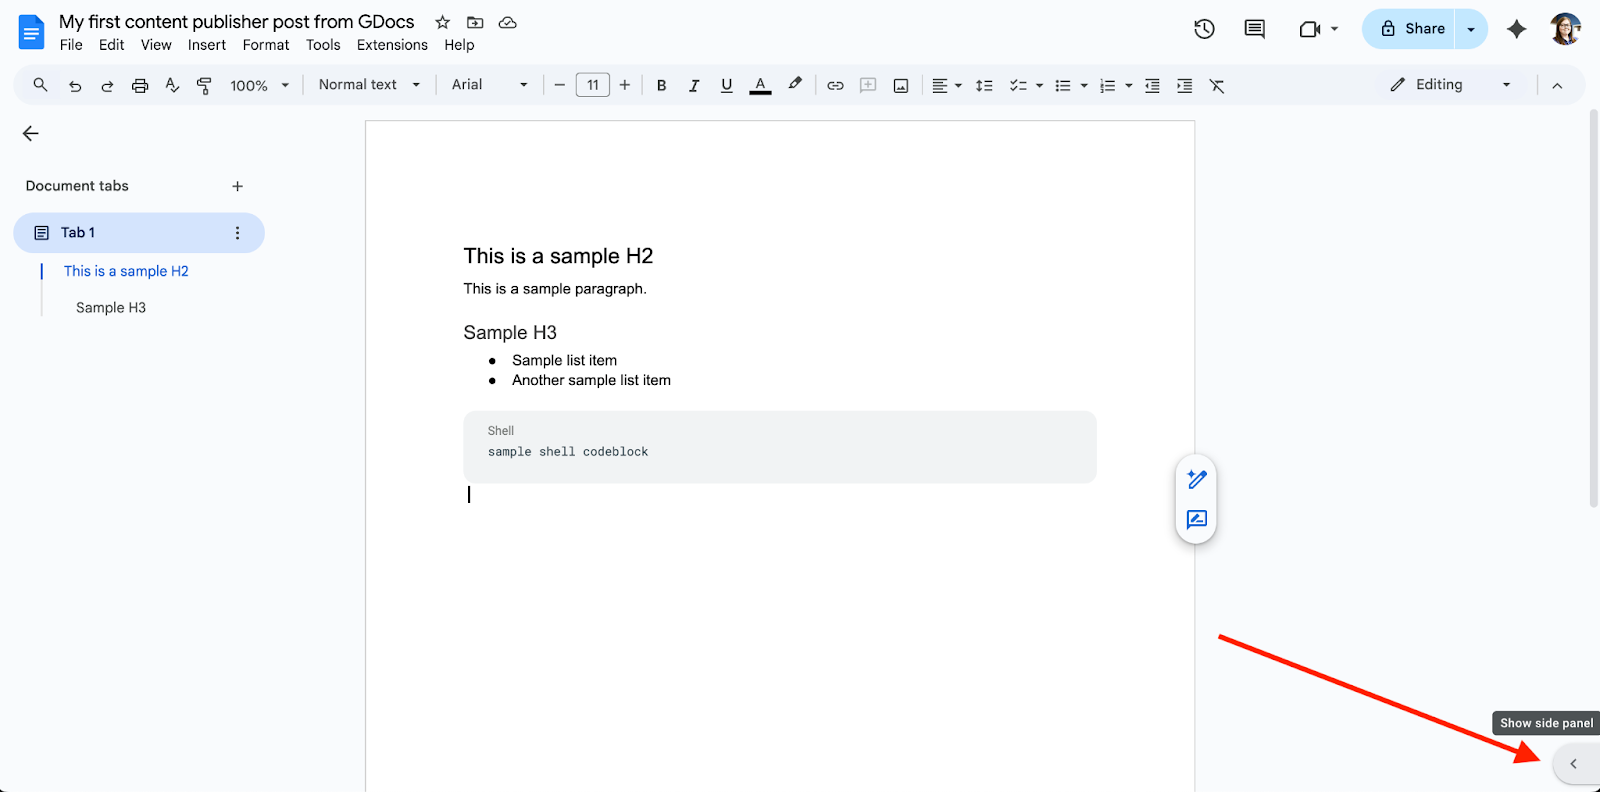
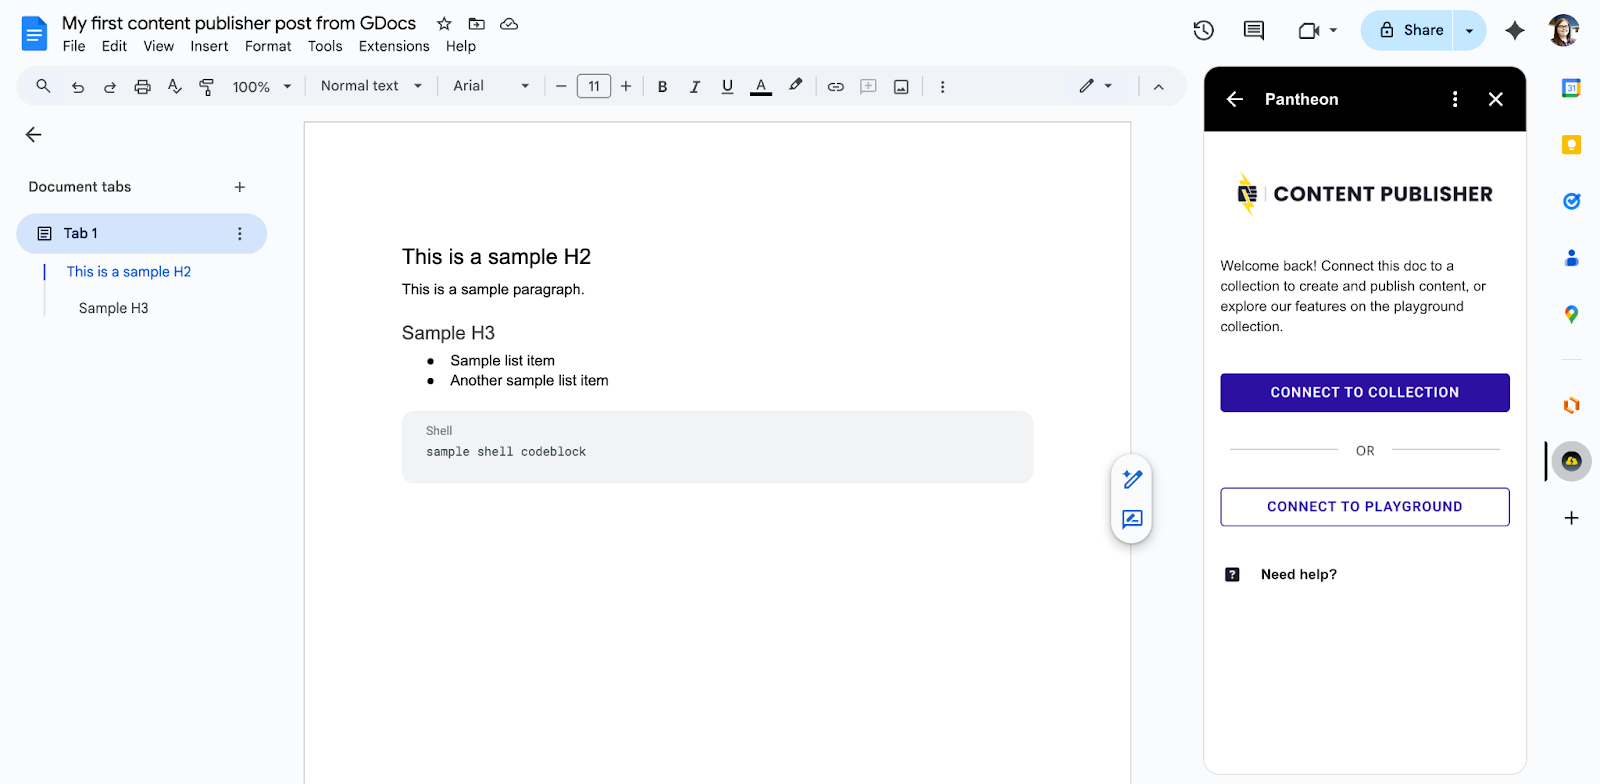
- Open the side panel navigation, found by hovering near the bottom right of the Google Doc:
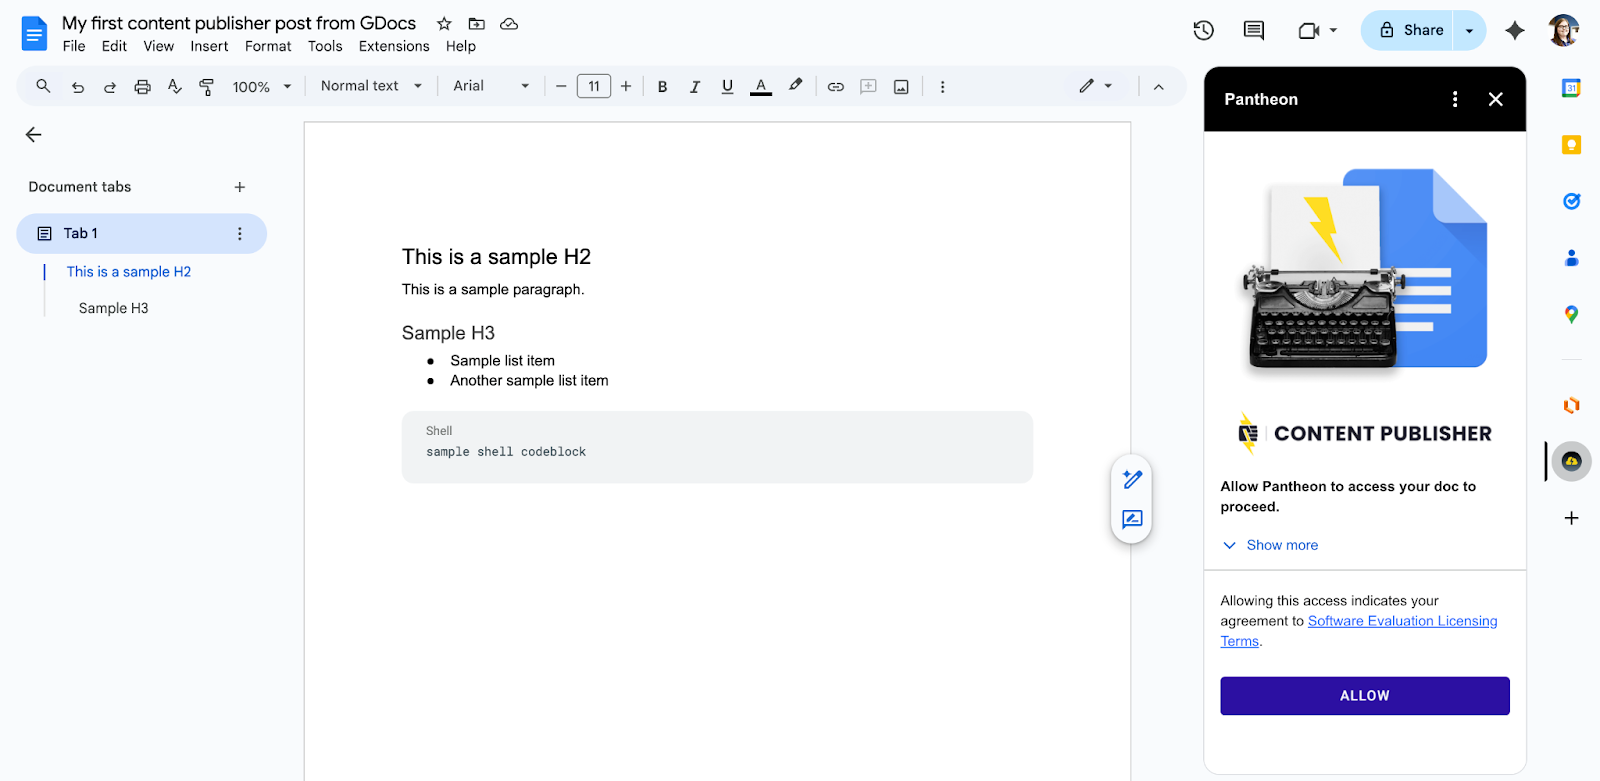
- Click the icon to open the Pantheon Content Publisher add-on, then click Allow:
- Click the Connect to Collection button:
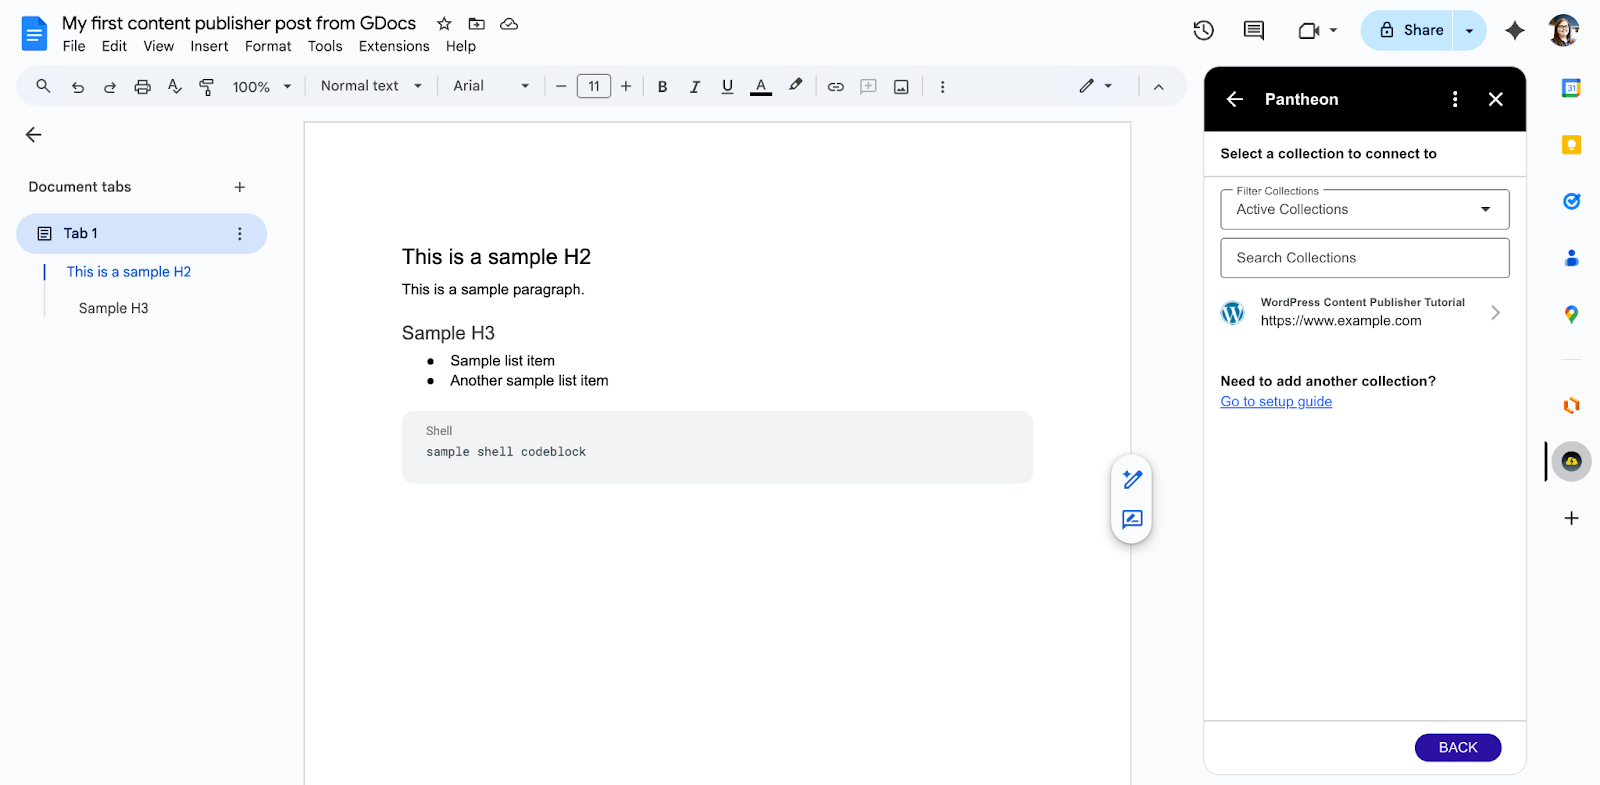
- Search for your Collection using the collection domain name. If you need to find your Collection Name, navigate to content.pantheon.io/dashboard/collections and search for your site’s URL.
- Select your collection. This was created automatically by WordPress in step 5 of the previous section above.
- From the WordPress dashboard, double check the URL and collection ID shown in the Google Docs add-on match what’s shown on the plugin settings page.
- Return to Google Docs and click Connect to collection.
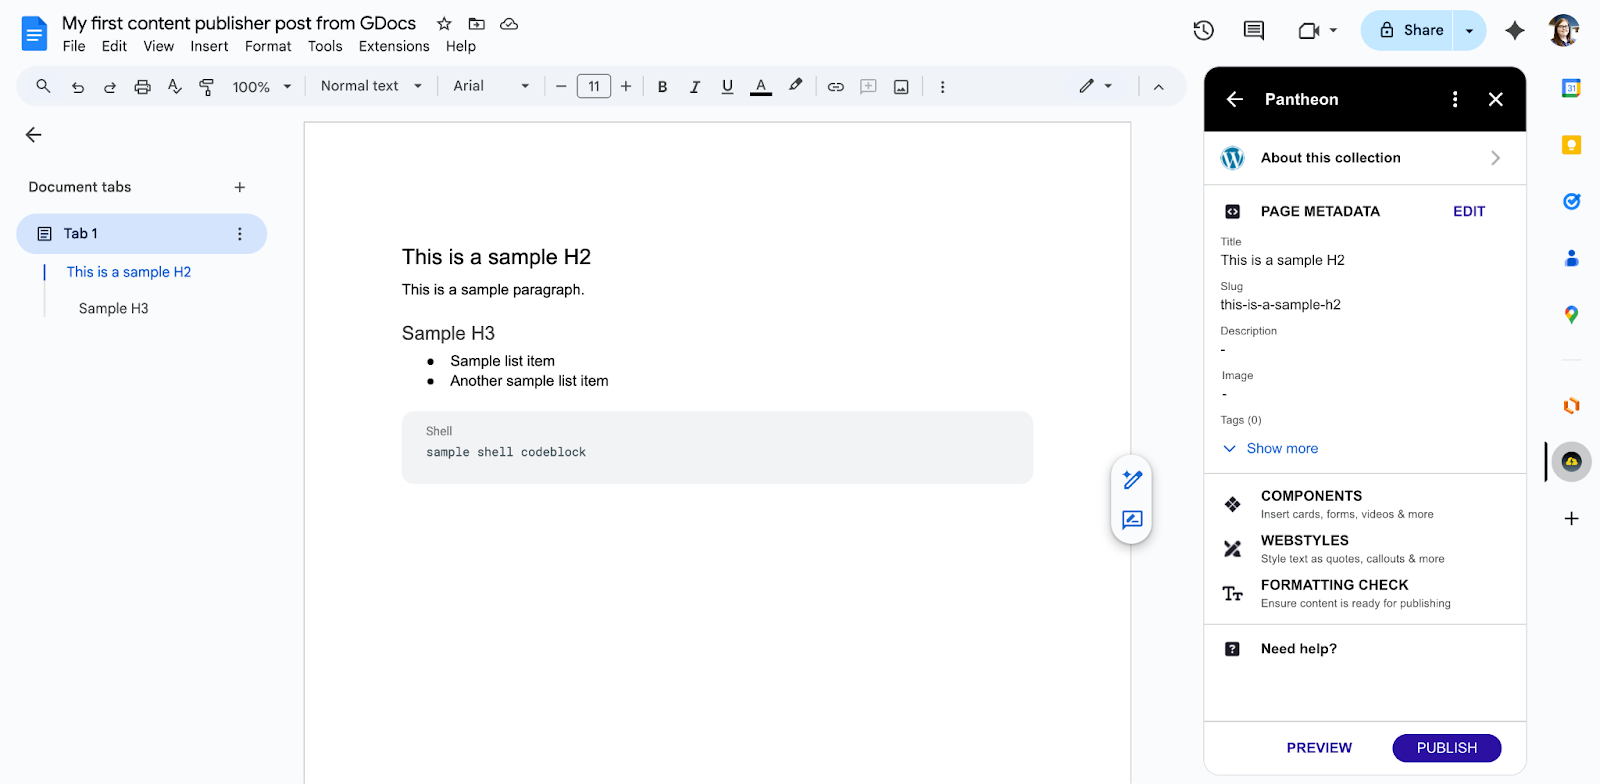
- Click Publish:
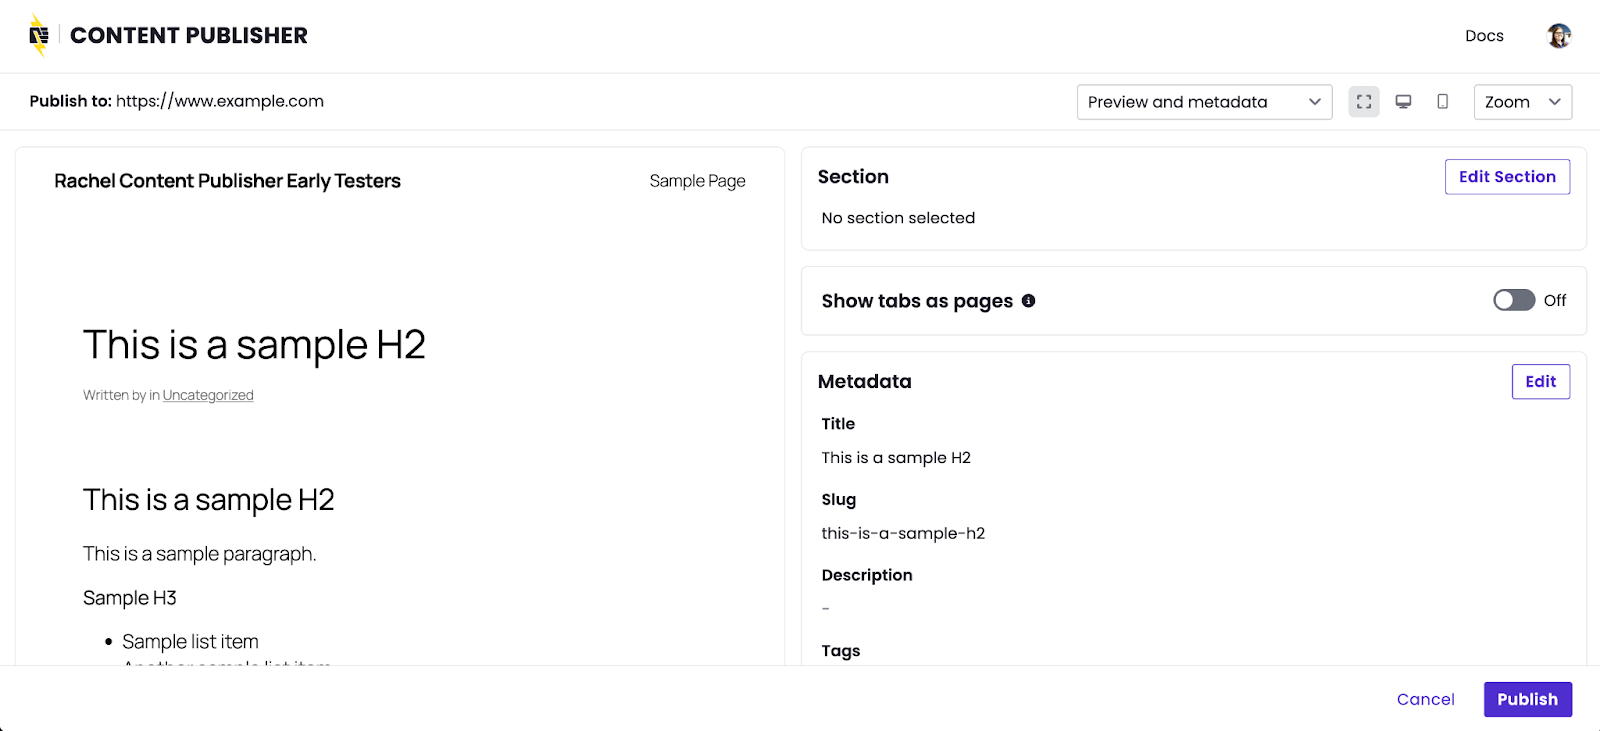
- A new window will open, for now lets move forward with the defaults. Click Publish:
- Click View Live Content:
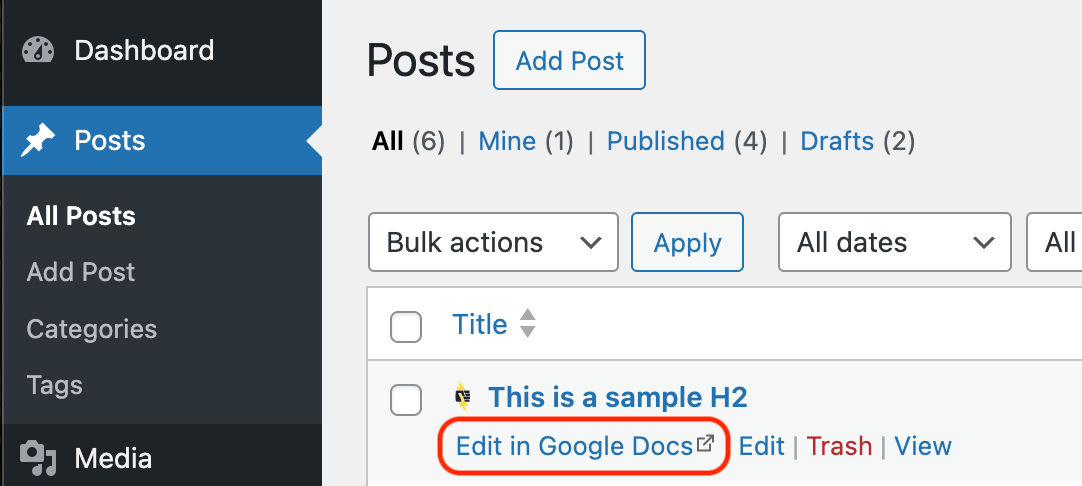
- Switch tabs back to the Google Doc we created earlier, if you’ve since closed the tab you can easily get back to it from the WordPress Dashboard:
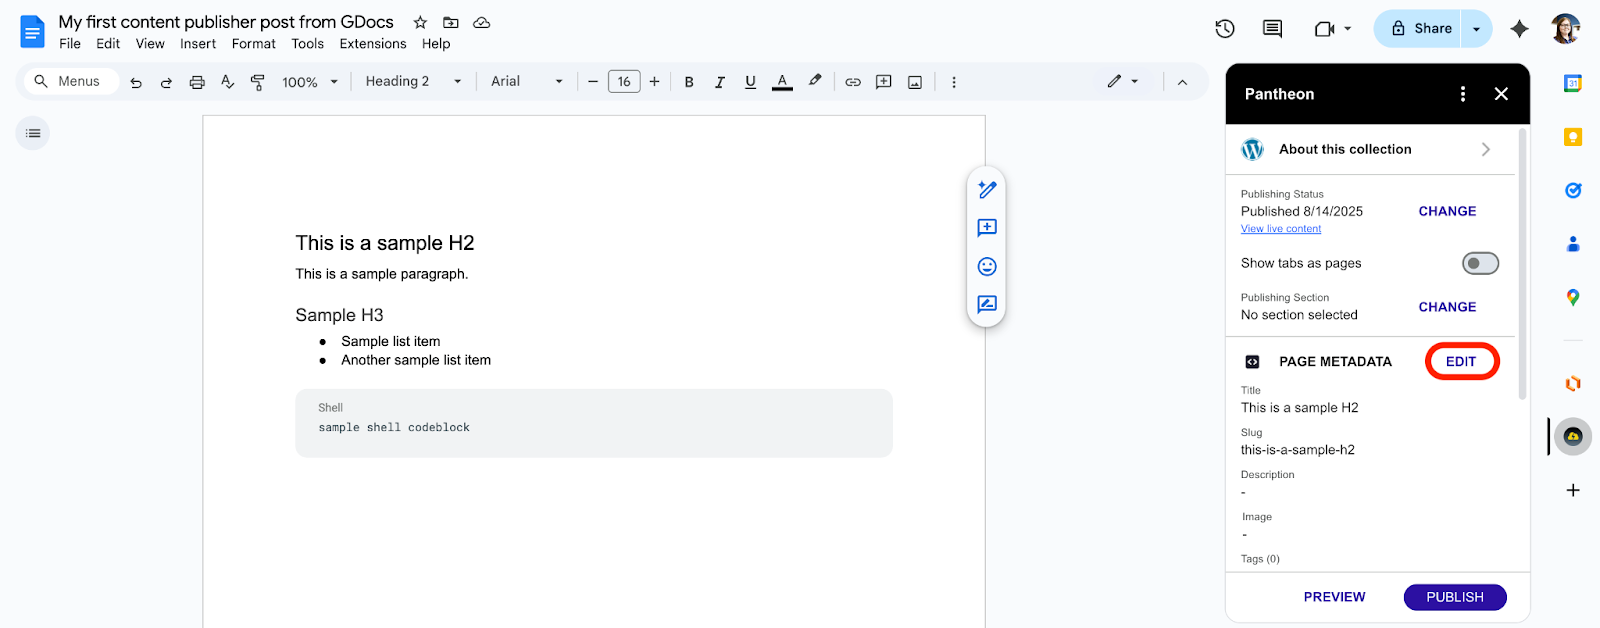
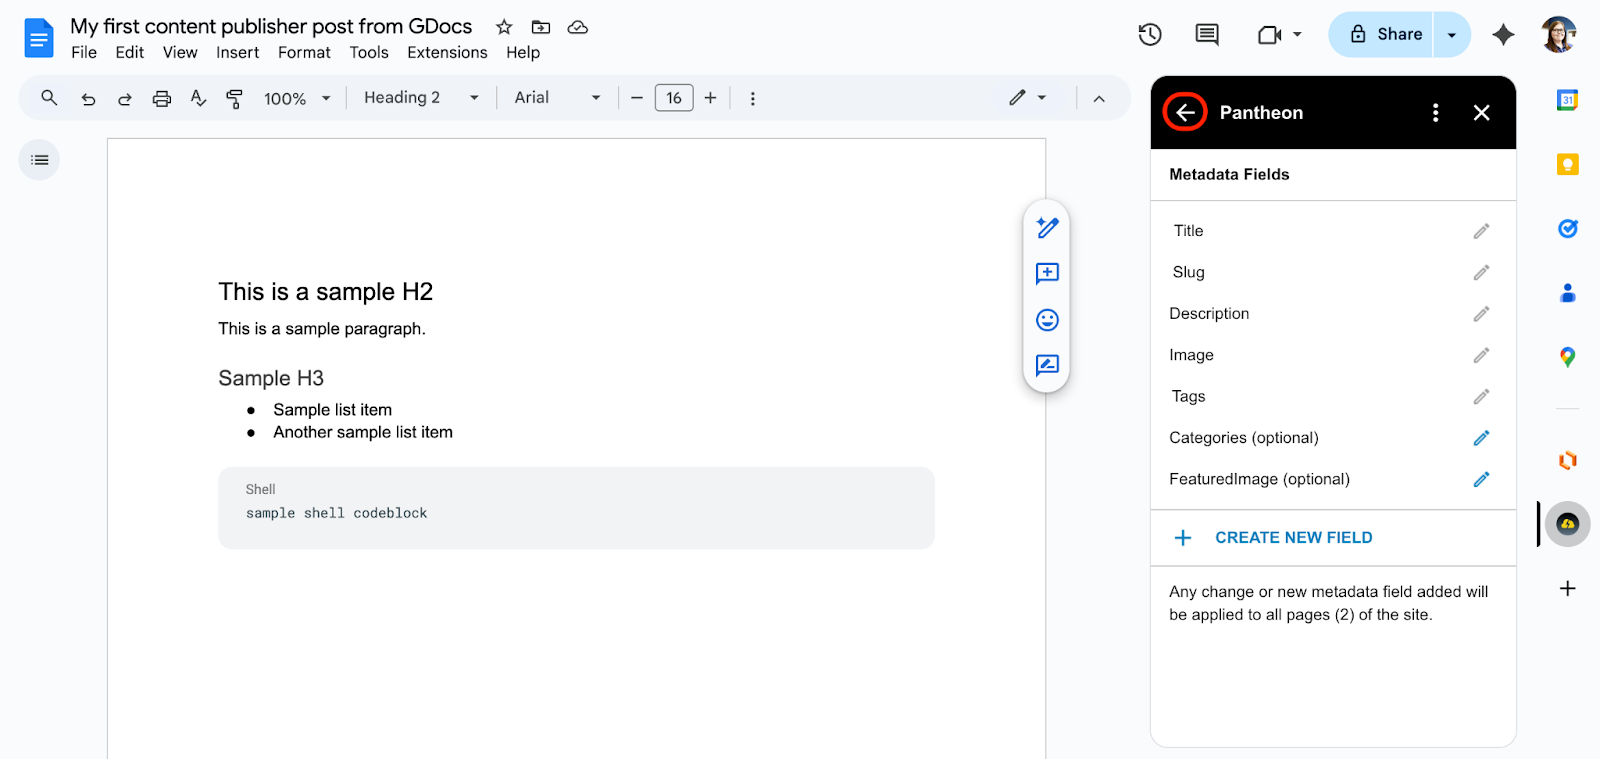
- From the Content Publisher add-on, click Edit next to Page Metadata:
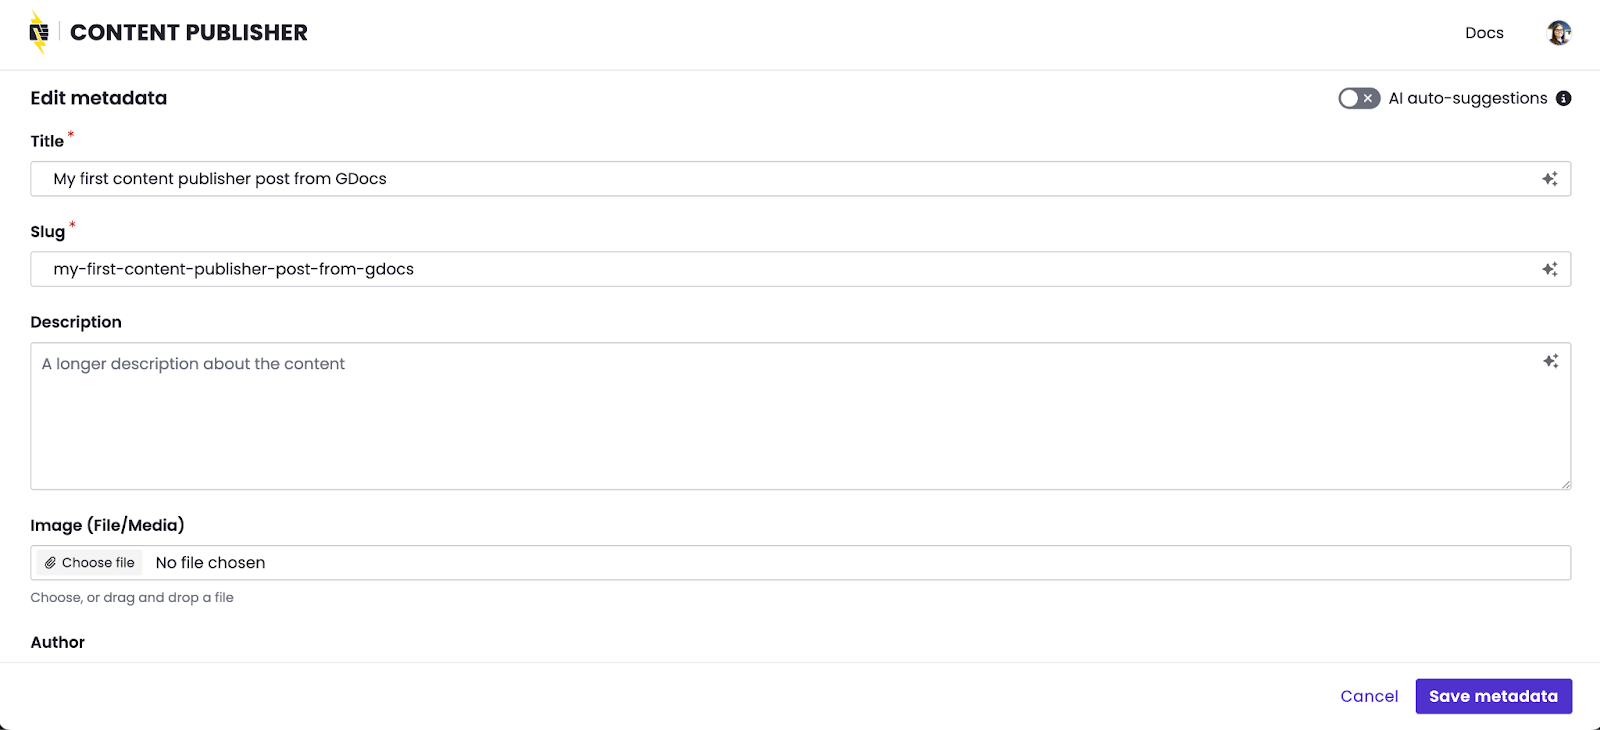
- A new window will open. Enter a revised title for the existing post, for example “My first content publisher post from GDocs” Repeat for the slug field, then click Save metadata:
- Click Close and return to Google Docs.
- Click Publish.
- A new window will open, review metadata changes then click Publish.
- Click View Live Content to see your updated slug and title reflected in WordPress.
Next we’ll add one custom metadata field to this collection from the Google Docs add-on interface. Once created, all docs connected to this collection will be able to use them. For this exercise, we’ll be creating a “Categories” field which will work natively with WordPress.
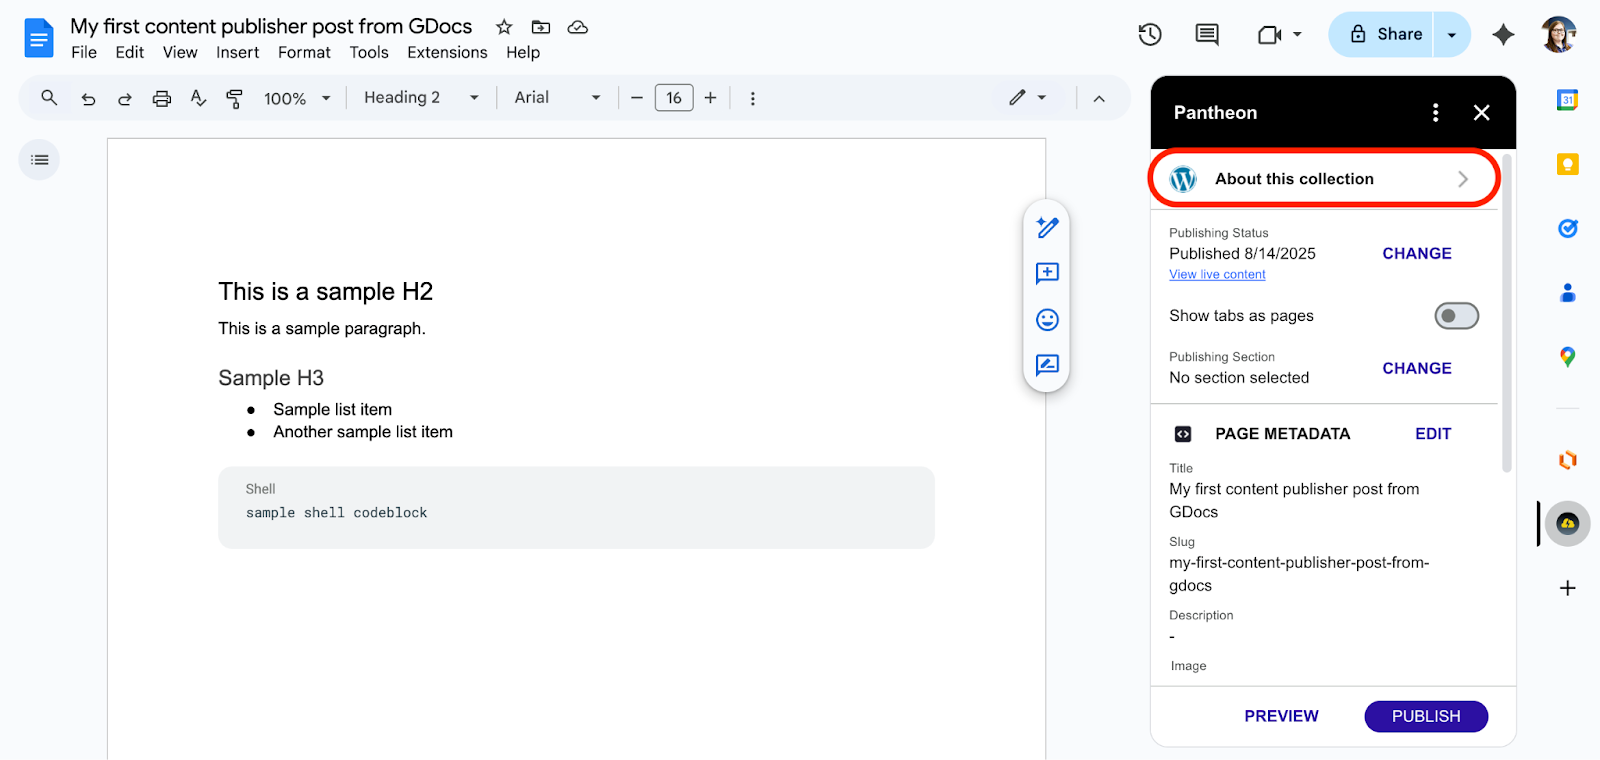
- Switch back to edit the page in Google Docs and from the Content Publisher add-on, click About this collection located at the very top.
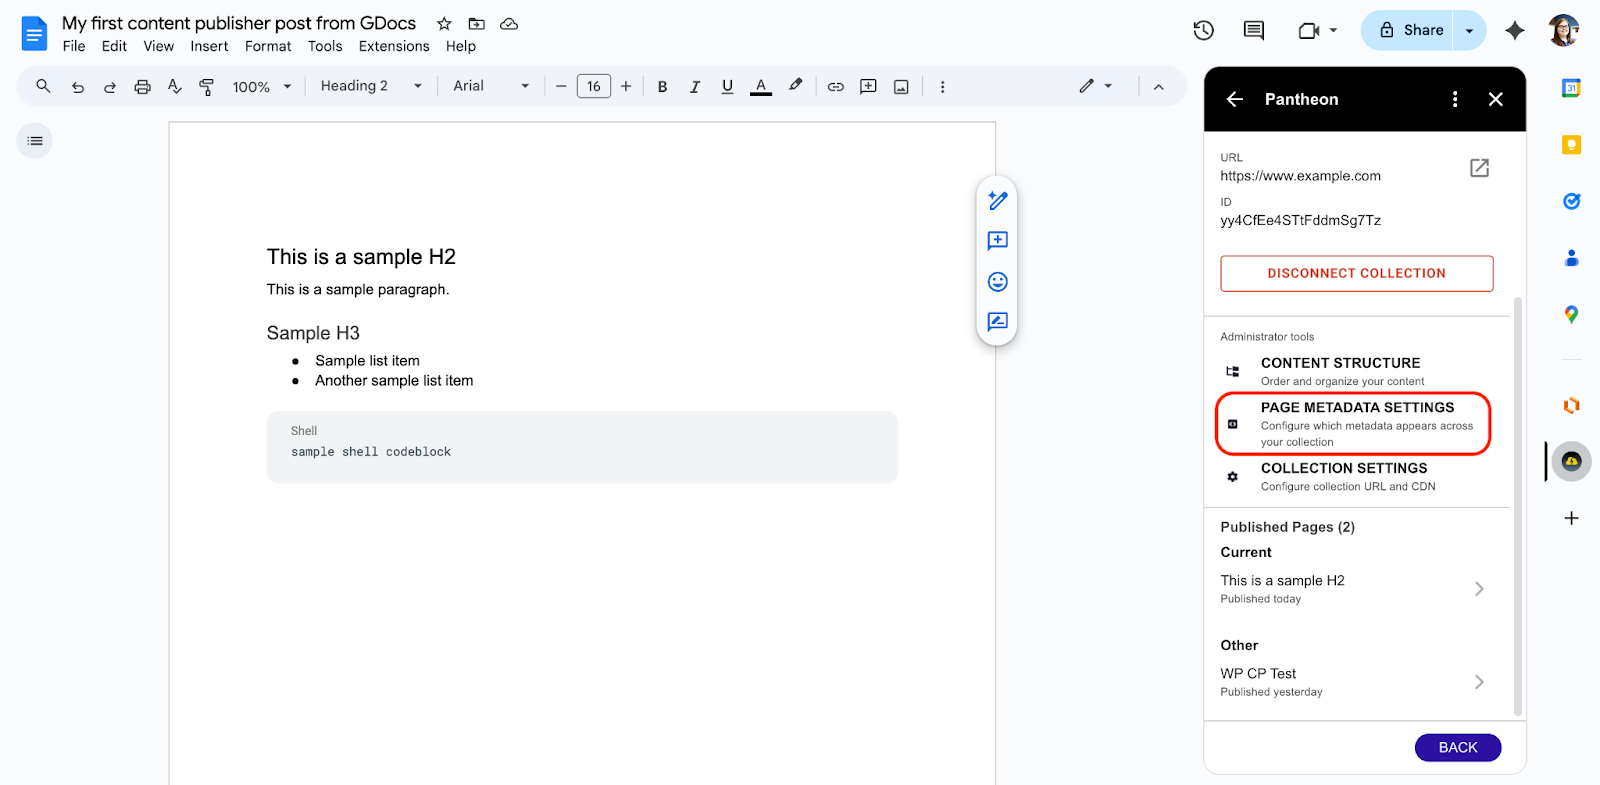
- Scroll down to Administrator tools and click Page metadata settings:
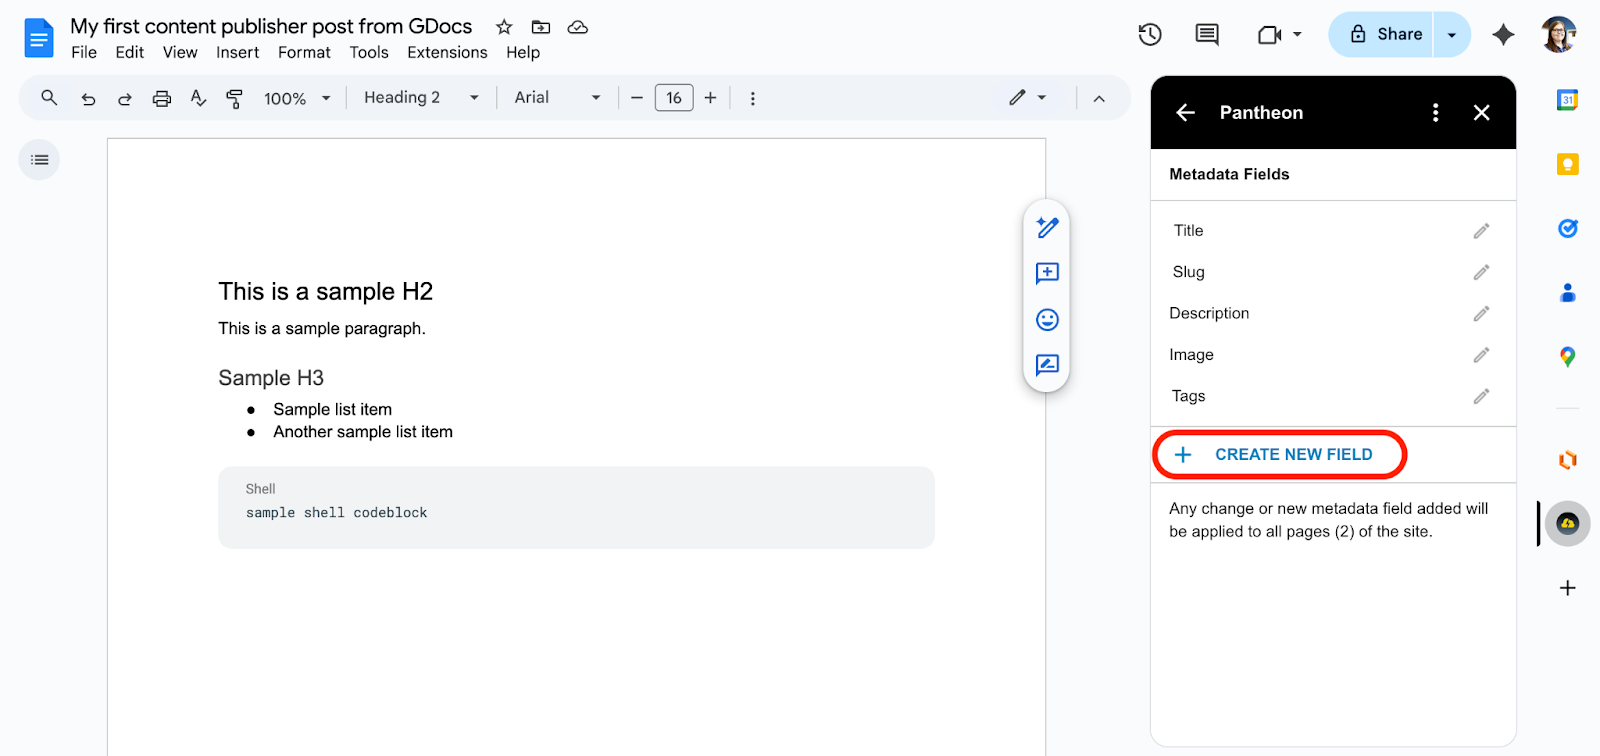
- Click + Create new field
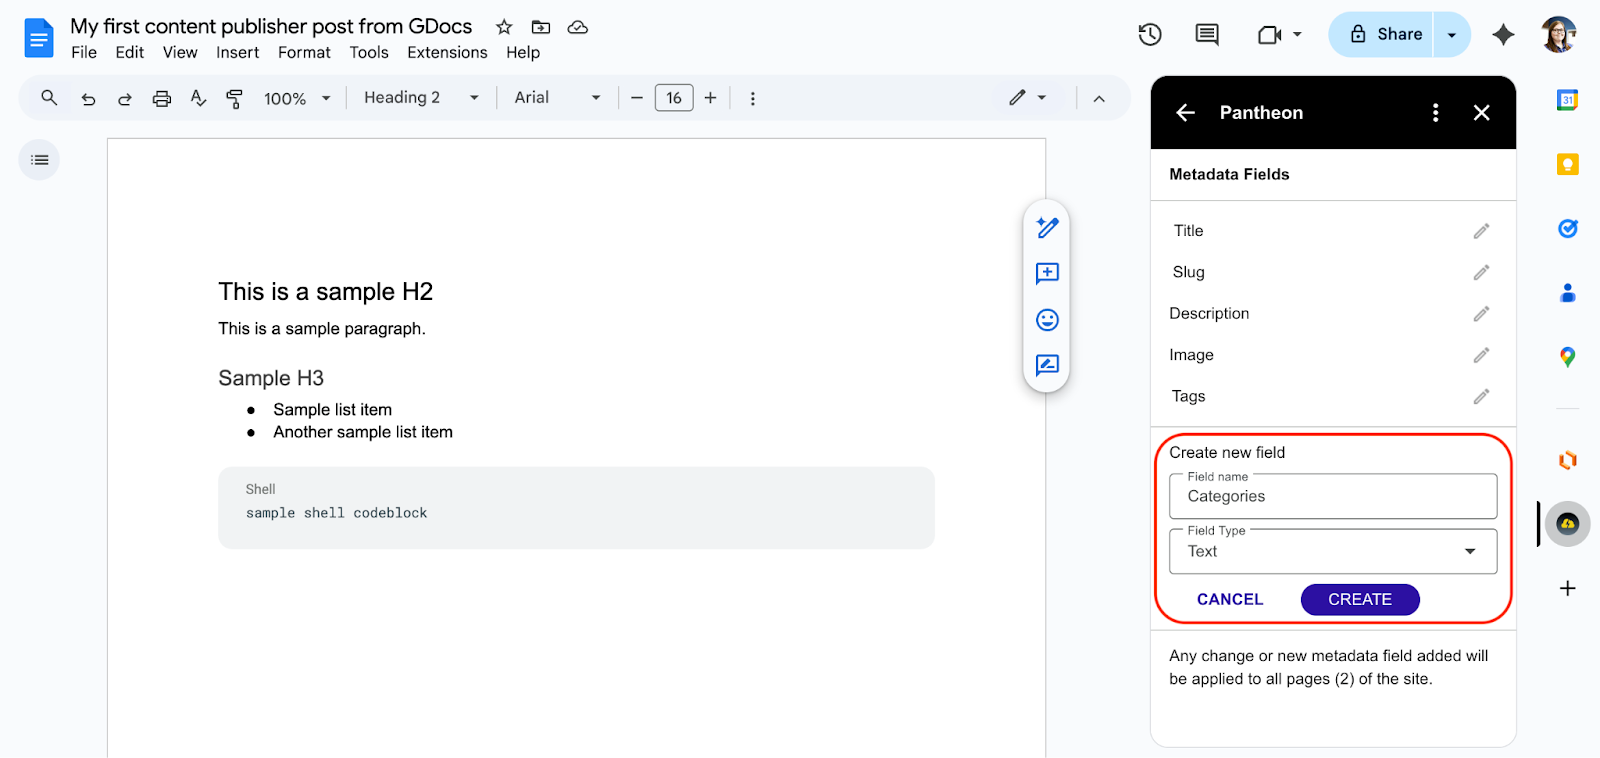
- Enter “Categories” for the field name, select “Text” for field type, then click Create:
- Click the back arrow, located at the top left of the Google Docs add-on:
- Click Publish.
- A new window will open, find the Metadata section and click Edit.
- Add a few categories then click Save and then click Publish:
- Click View live content.

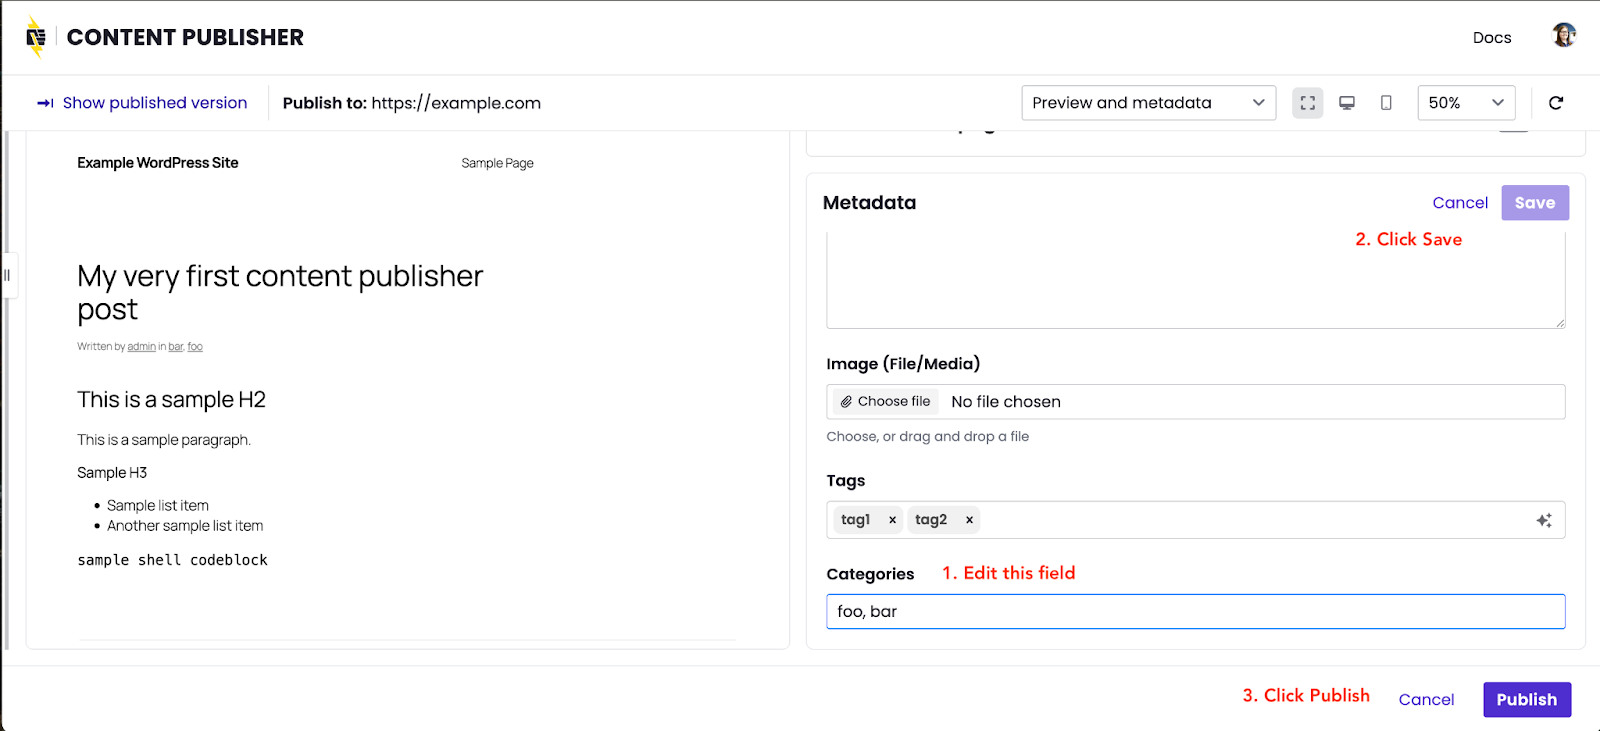
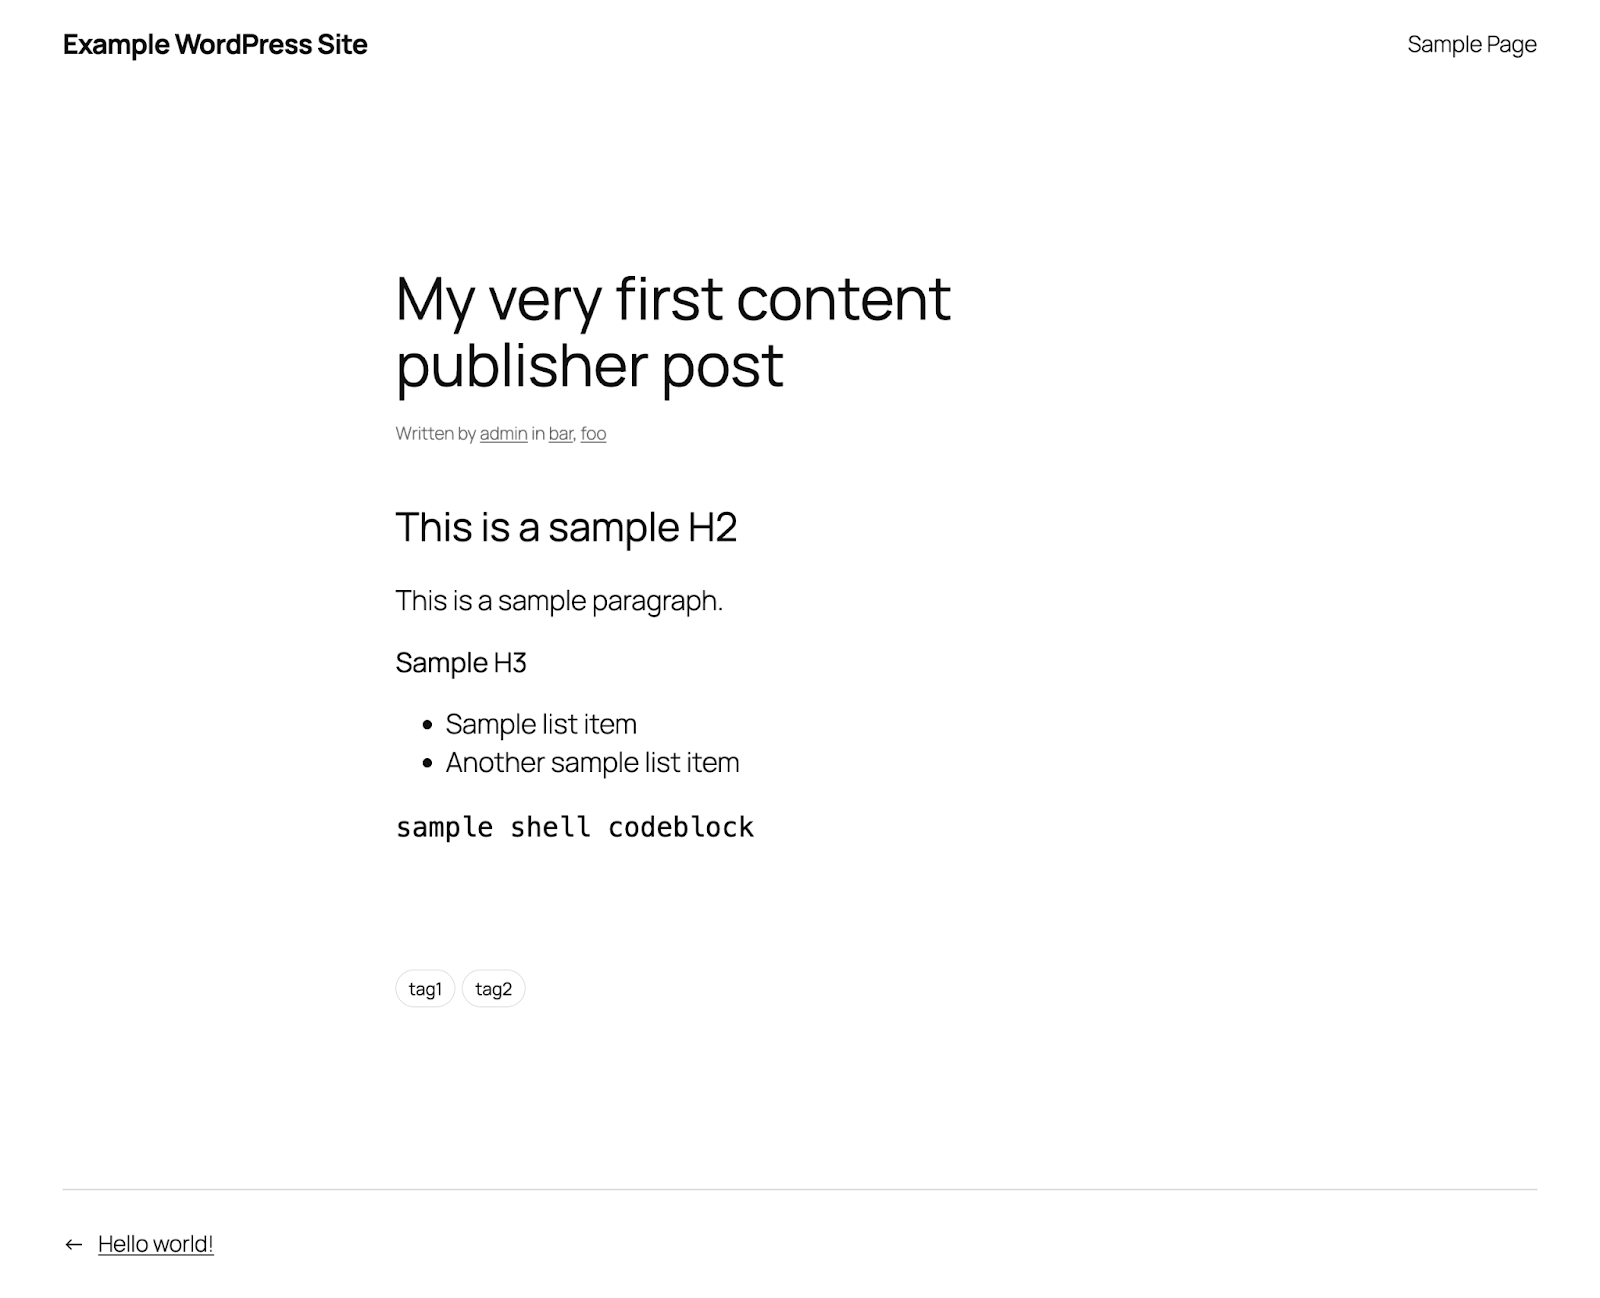
You should end up with a post in WordPress similar to the following: