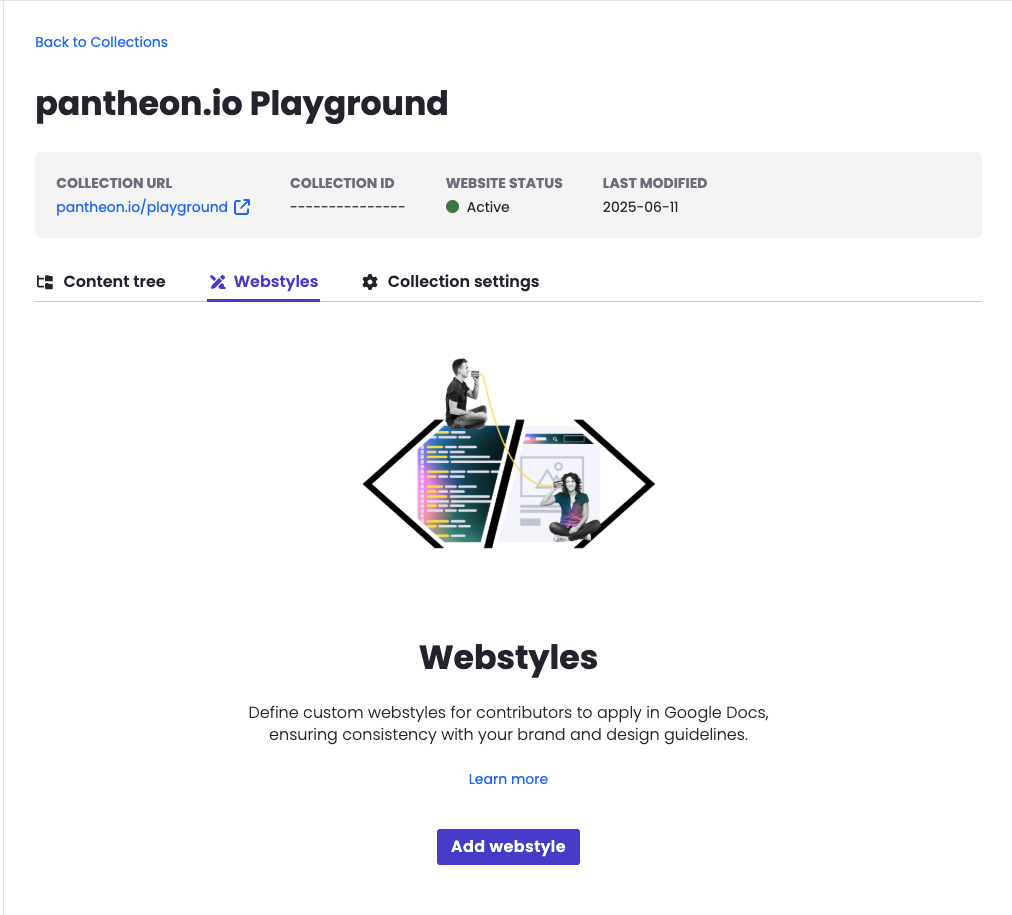
Webstyles
Webstyles is a feature of Content Publisher that allows you to style sections of your document differently, with styles you have defined on your website.
Using this feature, you can level up your editorial workflow by applying custom styles available on your website right in Google Docs. These custom styled sections are referred to as “webstyled” and are marked inside Google Docs so editors are aware they are rendered differently from regular content on your website.
Setting up Webstyles involves two main steps:
- Designing and implementing styles on your website
- Declaring Webstyle in Content Publisher to make them usable by Content Publisher users
These steps will require a developer with access to create CSS styles on your website. For instructions, visit the Setup Guide.
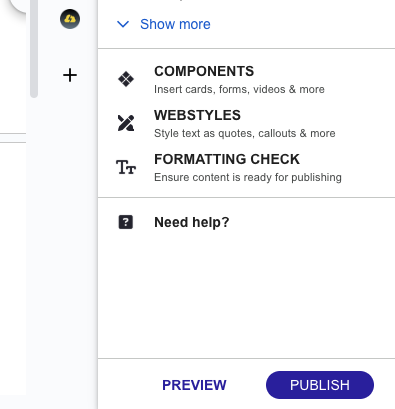
Using configured Webstyles in Google Docs is as easy as selecting content and choosing “Apply Webstyle” in the Content Publisher add-on.
To begin, open the Content Publisher add-on in the sidebar of Google Docs.
Click the “WEBSTYLES” menu option in the add-on to open the Webstyles section.
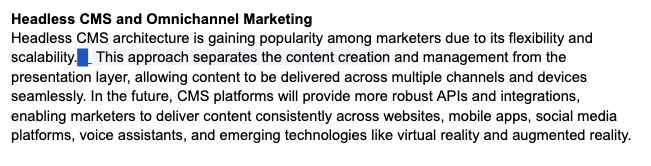
Select the content inside the Google Doc you want to apply the content to and choose the webstyle to be applied to it inside of the add-on.
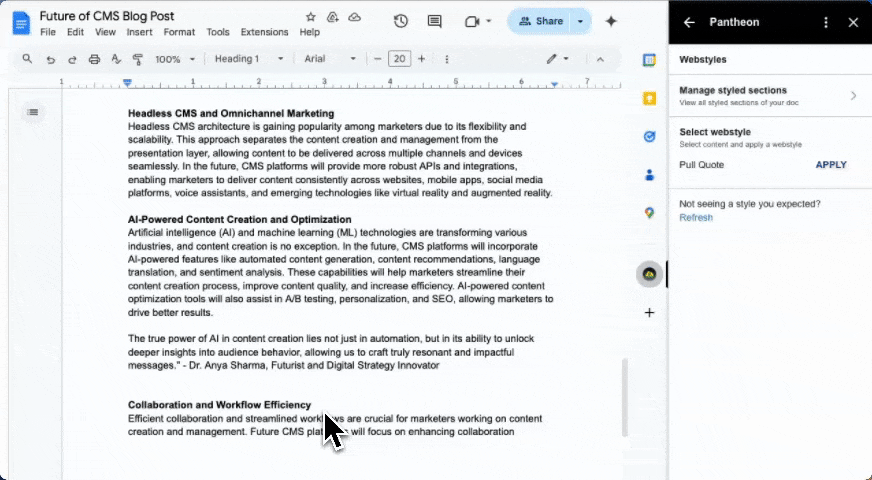
Preview the content to see the webstyle in action

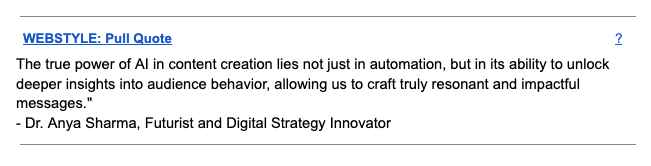
A marker will be applied to the content you webstyled to indicate that content has had the webstyle applied to it. Depending on whether a block or an inline section of content was webstyled, the marker will appear differently. You can click on the marker at any time to view what kind of webstyle was applied to the content and to remove the webstyle.
Block webstyle marker
Inline webstyle marker
Webstyles are composed of an identifier and a CSS class.
The identifier is the name by which the content creator working in Google Docs can identify the webstyle by and apply to content.
The class is a regular CSS class name which should correspond to CSS style declarations you have defined on your website.
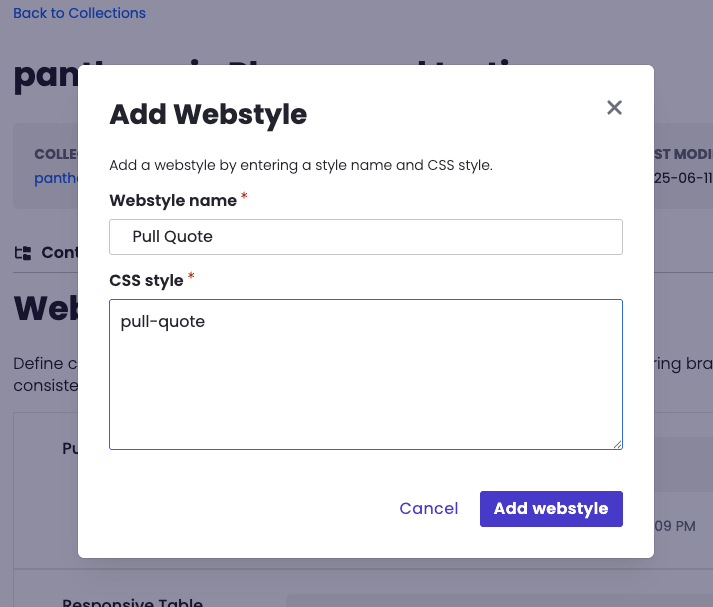
To define the webstyle, visit the Content Publisher Dashboard, navigate to the collection you want to define the webstyle on and go to the “Webstyle” tab.
Click on the “Add webstyle” button to continue.
In the dialog that appears, provide a name for the webstyle and the CSS classes that should be applied to content that has the webstyle applied to it.
After saving, the Webstyle should show up in your list of Webstyles.
Whether you have already defined Webstyle or not has been defined, you of course to ensure that the styles you want to use in Google Docs valid CSS styles targeting the classes you set in the Webstyle section of Content Publisher.
Webstyled content coming from Content Publisher will be rendered as regular HTML but crucially, with the CSS classes you provided in the webstyle definition applied to them.
For example, this is the CSS style declaration for the “Pull Quote” style used in this guide.
/* Pull quote webstyle */
.pull-quote {
font-family: "Aleo", serif;
font-style: italic;
font-size: 1.875rem;
line-height: 1.6;
border-left: 4px solid;
border-image-slice: 1;
border-image-source: linear-gradient(to bottom, #9b0b9d, #5700af);
padding: 48px 0 48px 48px;
margin: 2em 0;
}
You can make these as complex as you like, target specific element types inside them or even apply modifications with Javascript by targeting elements with the webstyle class using DOM APIs or componentMap from the Content Publisher SDK.